8 Ways to Fix Focus Issue on Mavic Pro
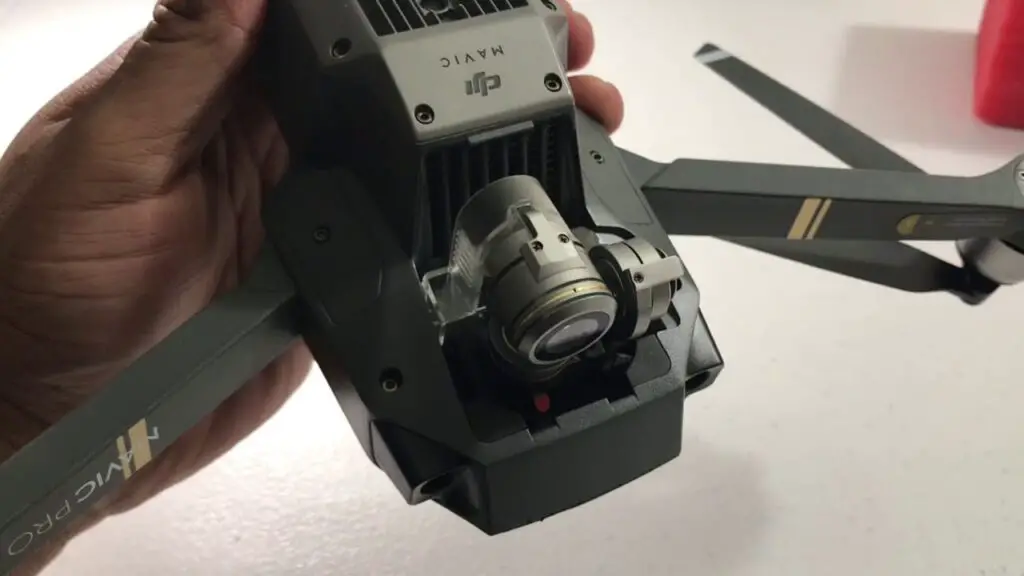
The number of people having a focus issue with their Mavic pro is a lot, nonetheless, DJI doesn’t seem to come up with a solution.
And this error is not something you can ignore or say I will come back to it later because you can’t get a decent footage, and the drone basically becomes useless
I had this problem a couple of weeks ago after hours of trying to get a decent footage trying to focus manually I gave up and started looking for s solution.
After contacting DJI, reading a bunch of forums, hours of frustration, and trying different things, I fixed it and saved myself hundreds of dollars, and so I thought I could do the same for others.
So why is you mavic pro not foucsing and how do you fix it?
Inabilty to foucs on dji mavic pro is usually beacuase of a software issue, to fix it try changing the SD card, refreshing the firmware in DJI assistant, resetting the camera settings, and calibrating the gimbal and IMU in DJI GO 4 app. If the issue persists, you might have to send the drone to DJI for service.
What causes this error?
This error can be caused by different things, both hardware and software, here are some things that might be causing it-
- A software glich
- A faulty camera
- A faulty gimbal
- Wrong camera settings
1. Reset camera settings
The first thing you have to try is resetting the camera setting in DJI GO 4 app-
2. Calibrate The Gimbal
If restting the camera settings doesn’t fix the problem the next thing you should try is calibrating the gimbal.
Calibrating the gimbal is a quick and easy procedure that can be done both on the DJI GO 4 or DJI Assistant 2.
- Tap on the three dots in the upper right corner of the screen.
- Tap on the gimbal symbol.
- Select gimbal calibration.
- A message will appear prompting you to ensure that the aircraft is level and that nothing is obstructing the gimbal’s range of motion. Ensure that the drone is level and that nothing is obstructing the gimbal.
- Select OK, and the gimbal calibration process will begin
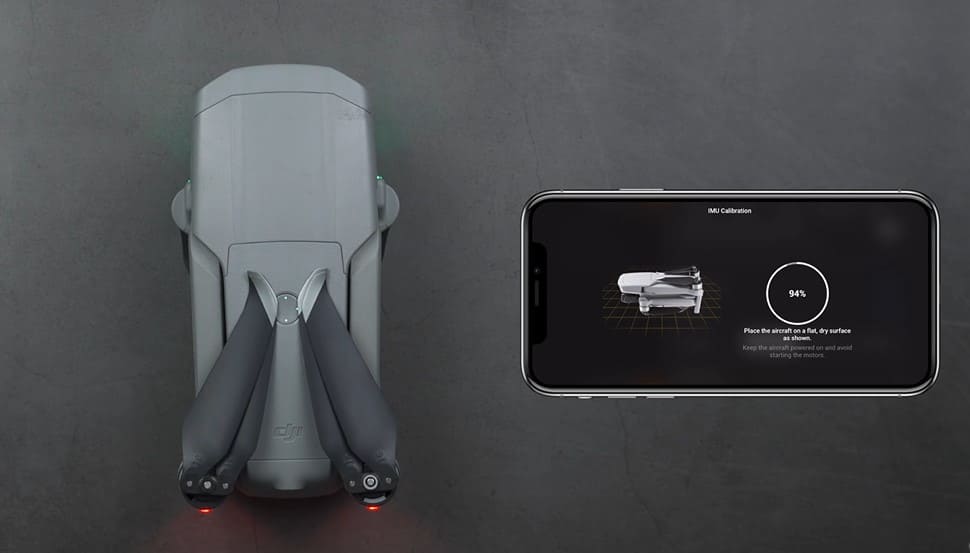
3. calibrate the IMU
I am not sure how the camera and the IMU are related but a lot of people seem to have success with calibrating the IMU so it is good if you do imu calibration.
IMU calibration is a very easy process, and it shouldn’t take more than three minutes if done correctly
However for a successful IMU calibration, it is crucial that you follow the steps exactly as you see on the screen, or you will get stuck on one of the steps.
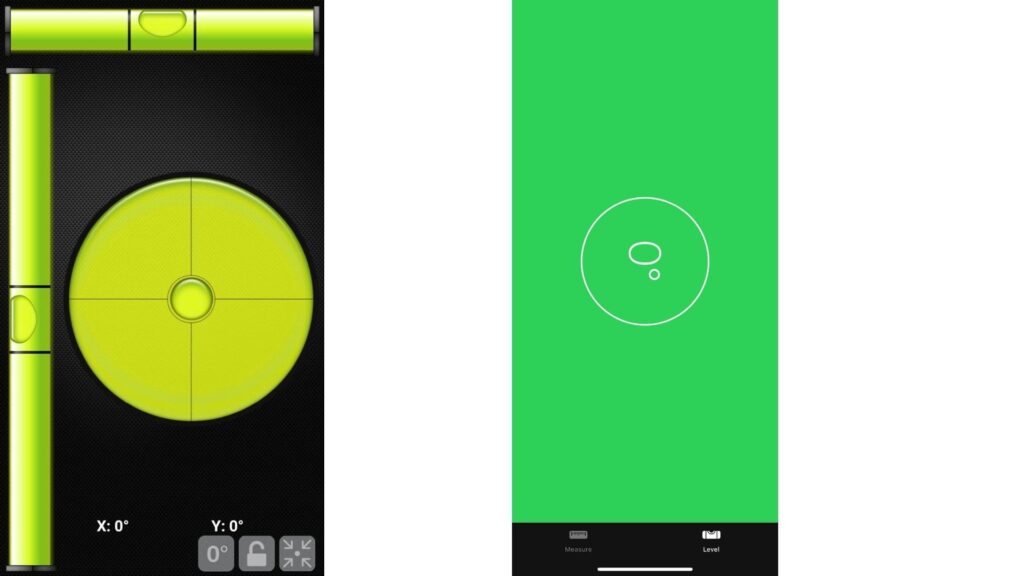
1. Place your drone on a flat/level surface
If you have an iPhone open your measure app or if you have an android download bubble level app and make sure you place your drone on a level surface
2. Put the drone arms folded with its belly
This step needs no explanation, put the drone in its normal position with arms folded.
3. Put the drone on its right side
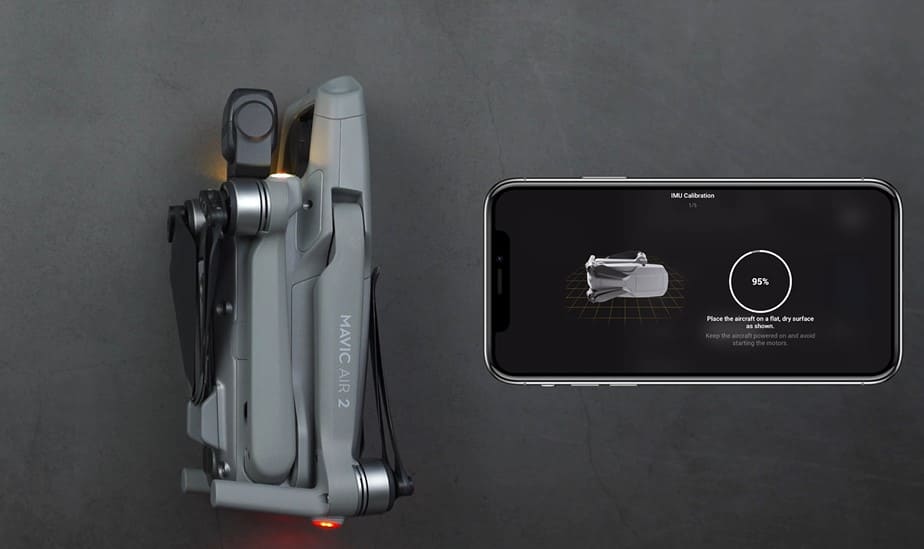
Even though it is simple, step 2 is where people get usually get stuck.
What you basically have to do is face the drone’s belly facing to the wall, and its side facing to the ceiling.
However, even when you are doing everything correctly DJI go 4 app won’t proceed to the third step for some reason
So if this is happening look for the lights on the arm of the drone
When the green lights are flashing rapidly – it means it is calibrated for that position and it now wants you to move it to the next position.
So you don’t have to wait for the app, if the lights are flashing green just proceed to the next step!
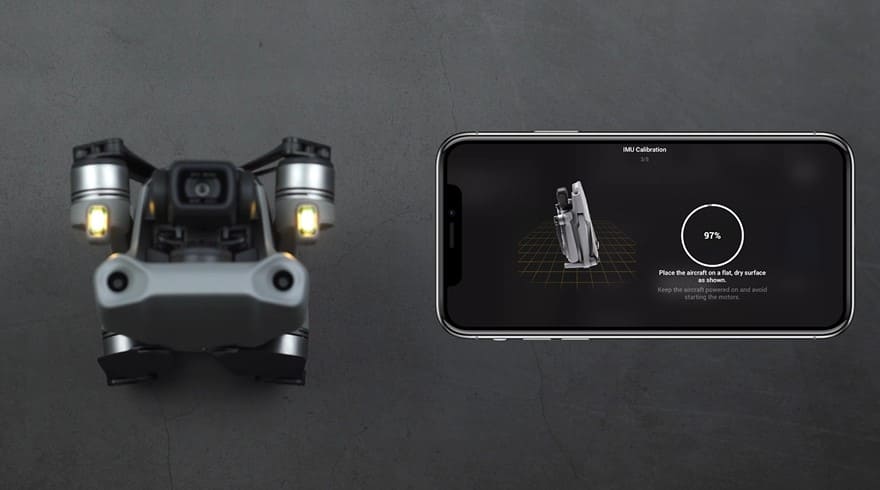
4. Rotate the drone onto its left side.
Just repeat the previous step but on the left side.

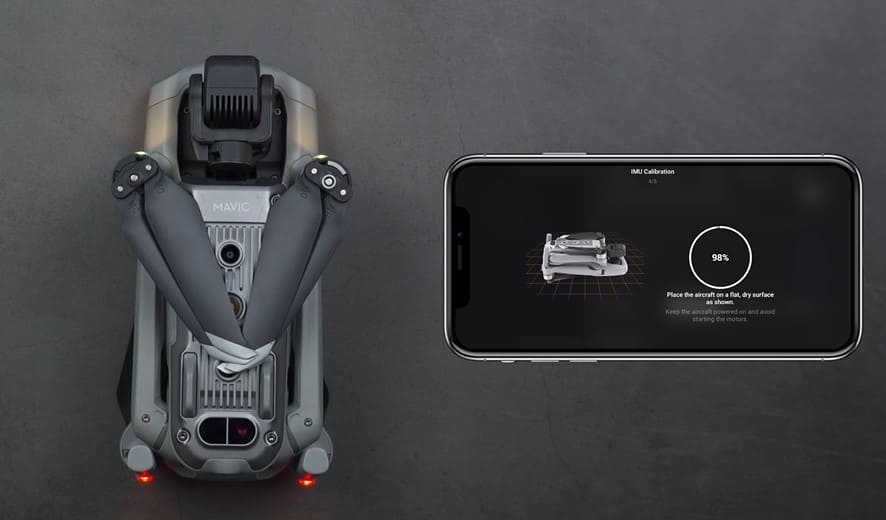
5. Finally face the camera upwards
6. Put the drone belly up
4. Refresh the drones firmware in DJI assistant 2
The first thing DJI support told me when I called them was to do a firmware refresh in DJI assistant so if you haven’t done that please do.
To do that-
- Power on the drone
- Download the proper dji assistant for your drone
- Connect it to your computer using the USB cable DJI provides
- Open the software on your laptop
- Log in to the DJI Assistant 2 app and select your drone
- Next, you will see the firmware version
- Tap update and choose the latest version
- If it is already the latest version click refresh
- Repeat process with every battery you own
you can also refresh the firmware in DJI go 4 app.
5. Update/refresh Controller Firmware
The Drone’s and the controller’s firmware must match so after refreshing or updating your drone’s firmware you should do the same for the controller separately.
So, to update/refresh your RC’s firmware-
- Power on the remote controller
- Connect it to your computer using a USB cable provided
- Open and log into the DJI Assistant 2 software on your laptop
- Select your drone’s remote controller
- Next, you will see the firmware version
- Tap update if you have an older version or tap refresh if it is up to date
- Click on “Start Update”
- On the next screen, you will see the firmware being downloaded, then transmitted and updating the remote controller
- At 100%, you will see the message, “Update Complete”
- After the firmware is complete, the controller will restart automatically
6. Downgrade firmware
certain firmware doesn’t match with the hardware and starts causing issues, and that is why DJI made it possible to downgrade your firmware to the previous versions.
Anyways You can downgrade your firmware both in DJI assistant and DJI go 4.
To downgrade firmware in DJI assistant–
- Power on the drone
- Connect it to your computer using the USB cable
- Open the DJI Assistant 2 software on your laptop
- Log in to the DJI Assistant 2 app and select your drone
- Next, you will see the firmware version and older versions lined up
- Choose the version one below the current version you have
- Then click install
- Then the drone will automatically restart
To downgrade firmware in DJI go 4
Press and hold the menu icon (three horizontal lines in the top right corner) for five seconds and a special firmware menu appears. You can now select which previous firmware version you would like to downgrade to. Check it out.
7. Remove sd card
If you are not using a recommended SD card or if the sd card is formated with a wrong file type it can cause a lot of issues.
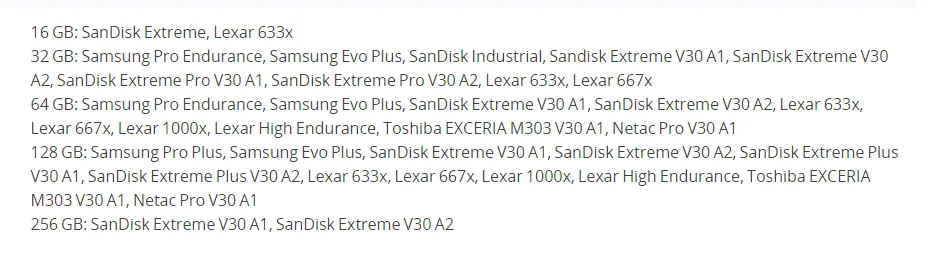
So, if you can change the sd card change, this down below are the recommended sd cards.
You can also try formatting it, the standard format file on computers is NTFS, we want to change that to exFAT to make it compatible with the drone.
- Open File Explorer.
- Click on This PC from the left pane.
- Under the “Devices and drives” section, right-click the SD card and select the Format option.
- Use the “File system” drop-down menu and select the exFAT option.
- This process can be a little different on Mac and Linux.
8. Factory reset your drone and controller
Finnaly before changing the propellers just to make sure it is not a software problem you can try factory resetting the drone.
This is really not important if you have already refreshed the firmware it is just in case there is still some error in the software but you can skip it
- First, Install the DJI Assistant 2 Program on your device, make sure you download the proper one.
- Connect your drone to your laptop using the USB cable provided, and wait for the software till it detects your drone
- You’ll be able to see your drone on the Connected Devices screen. Select your drone and then click on confirm.
- Click on Firmware Update. After that, you’ll be able to see the “Restore factory defaults” button.
- Click on the factory reset button and then confirm when you are asked to confirm the reset. A progress bar will pop up showing the progress of the reset. You’ll be notified when the reset is complete.
Note: After a factory reset you have to calibrate everything again.
You can also hard reset the controller
To reset the RC: Turn on the controller, the aircraft should be off. * Press C1, C2, and shutter (top right button nearest antenna) on the controller and hold for about 2 seconds or so until it beeps, then turn the controller off.”
Final choice
If none of the methods fix it, you might have to send it to a professional.
If you have DJI care there is a good chance you can get it fixed without any cost.
DJI can ask you to send the drone even if it just to refreshe the firmware so make sure you do everything you can before sending the drone.
After you hand it to DJI it can take up to 15 days till they fix it and send it back to you, and it can take longer if you don’t live in the united states
If you are located in Armenia, you may contact the local dealer or DJI’s support via email to start a case and send the unit back.