3 Things to try if your Mavic Mini Controller is Not Connecting to iPhone
People are having this issue where their mavic mini is not connecting with their phones, I also had this issue about 3 weeks ago, then I went on the internet but no one seems to know how to solve the issue, then I contacted DJI but they didn’t provide me any solution, anyways after reading a bunch of forums, hours of frustration, but I finally solved the issue and so I thought I could spread the information.
So why is this happening and how do you fix it?
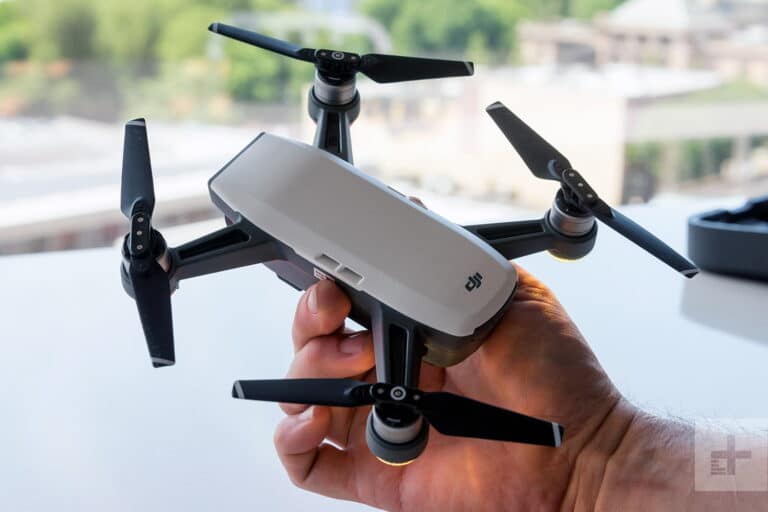
If your mavic mini controller is not connecting to your iPhone you are most likely using a faulty cable but it can be a software problem too. to fix it try using different cables, clean the ports, restart your phone and try refreshing the firmware.
1. Change the cable and clean the ports
It is most probably the cable that is causing the issue, when buying a cable, buy from a trusted seller and it is better it is from DJI
The next step is to clean the ports, to do that grab a small toothpick, or roll a paper or cotton product into a small tip. Carefully insert the tip into the port and jiggle it to loosen dirt or debris. Give the port another burst of compressed air to help remove anything you’ve loosened, do the same for the mini controller
2. Update/refresh Controller Firmware
The Drone’s and the controller’s firmware must match so after refreshing or updating your drone’s firmware you should do the same for the controller.
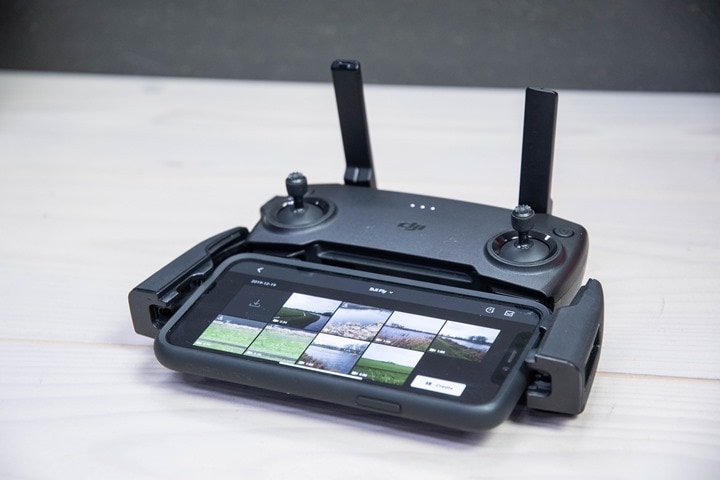
so to update/refresh your RC’s firmware-
- Power on the remote controller
- Connect it to your computer using a USB cable provided
- Open and log into the DJI Assistant 2 software on your laptop
- Select your drone’s remote controller
- Next, you will see the firmware version
- Tap update if you have an older version or tap refresh if it is up to date
- Click on “Start Update”
- On the next screen, you will see the firmware being downloaded, then transmitted and updating the remote controller
- At 100%, you will see the message, “Update Complete”
- After the firmware is complete, the controller will restart automatically
3. Downgrade firmware
If refreshing the current firmware doesn’t seem to work and the issue doesn’t seem to go, you can downgrade the firmware till the next update comes out
You can downgrade your firmware both in DJI assistant and DJI go 4.
To downgrade the controllers firmware in DJI assistant–
- Power on the controller
- Connect it to your computer using the USB cable provided
- Open the DJI Assistant 2 software on your laptop
- Log in to the DJI Assistant 2 app and select the device
- Next, you will see the firmware version and older versions lined up
- Choose the version one below the current version you have
- Then click install
- Then the drone will automatically restart
To downgrade firmware in DJI go 4
press and hold the menu icon (three horizontal lines in the top right corner) for five seconds and a special firmware menu appears. You can now select which previous firmware version you would like to downgrade to. Check it out.
It is better if you downgrade with DJI go 4 because the controller will follow automatically.
Final choice
If none of the methods fix it, you might have to send your controller to DJI.
If you decide to send it to DJI provide your serial number to them for them to check if you have a warranty which I don’t think you have because the product is old anyways, After you hand it to DJI it can take up to 15 days till they send it back to you, and it can take longer if you don’t live in the United States
You will however cover the shipping cost
If you are located in Armenia, you may contact the local dealer or DJI’s support via email to start a case and send the unit back.