Drone Technician Shows How to Fix “Gimbal Motor Overloaded” on DJI drones
Gimbal Motor Overload has been an issue on DJI drones especially, Mavic pro, air, mini and phantom 4, but even on the older drones like the spark and phantom 3 nonetheless, DJI doesn’t seem to come up with a solution.
And this error is not something you can ignore or say I will come back to it later because it affects your gimbal, and without a proper working gimbal, your drone is basically useless.
I had this problem with on Mavic pro a couple of weeks ago, and after contacting DJI, reading a bunch of forums, hours of frustration, and trying different things, I almost gave up until I called a friend of mine who is a drone technician and he told me what causes this problem and different DJI drones and how you can fix it, and it saved me 100s of dollars so I thought I could do the same for others.
Note: By attempting to repair or replace a damaged part on your DJI drone it is very important to understand that you can void your warranty by doing so!
So what causes gimbal motor overload and how do you fix it?
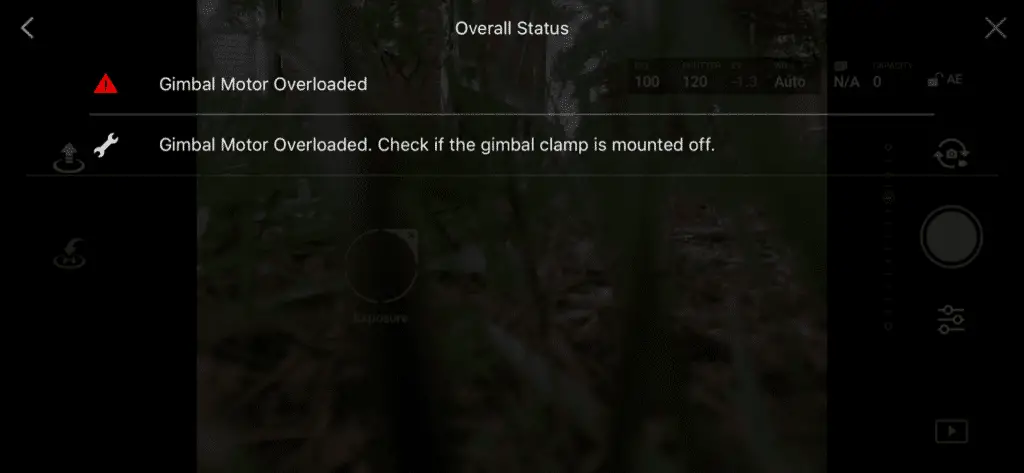
“Gimbal Motor Overloaded” error can be caused by a restricted gimbal movement, faulty gimbal, faulty ribbon cable, or a corrupted software. To fix this problem you can try air dusting the gimbal and calibrating the gimbal in DJI go 4, if the error persists, you might have to send the drone to DJI for service.
If you are not a technical person to simplify it, “gimbal motor overload” means the motor that runs the gimbal is having a hard time doing its job.
However there are different levels of severity with this issue, it can be a small temporary overload, which can be due to strong wind and excessive sports mode tilts and this will disappear on its own, and the worst can be permanently damaged gimbal outputting shaking jelly videos.
This issue can come from both hardware and software issues, software issues won’t cause any harm and can be fixed with a simple firmware refresh, hardware issues might need a professional assistance.
one way to know if you are having software or a hardware issue is by looking if you have a shaky gimbal.
If the gimbal is visibly shaky or if it outputs a shaky video it is most likely a hardware issue you are having and by hardware I mean something is damaged or loose or there is something that is restricting its movement, and sometimes the shakiness of the gimbal might not be clearly visible, to check the stability you can yaw your drone left to right and right to left, it is a software issue the stabilization does a good job of negating the rolling shutter if there is a hardware problem vertical structures may appear very tilted. Another way to check is if you do a spherical panorama, the full movement of the gimbal will also test the stabilization.
so let me start out by listing what can possibly cause this issue
- The most common issue, gimbal being tainted by excessive dust.
- The ribbon cable restricting the gimbal specifically on phantom 4
- Loose gimbal mounting bracket common on Mavic pro
- Faulty yaw motor common on phantom 4
- The camera/gimbal being pressed against something while on initial start-up such as grass or an uneven surface.
- Starting the drone while it is still in your hand, this can cause aggressive tilts and the gimbal motors can overload while trying to compensate for your hand’s movement.
- Using third-party accessories on or around the gimbal such as flare hoods and ND filters
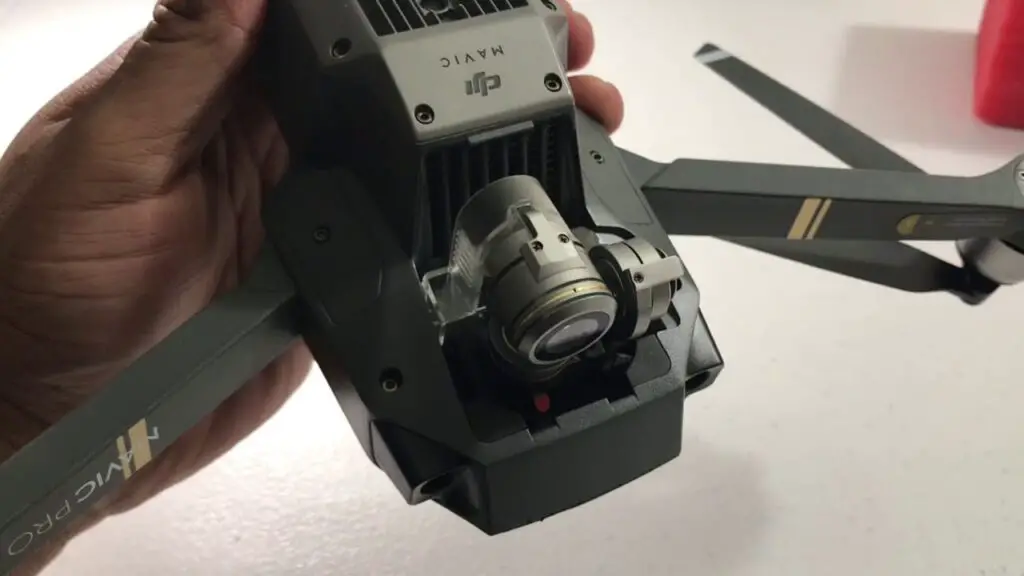
- Forgetting To Remove The Gimbal Cover
- Overheated gimbal motors – common when flying in sport mode when there is fast yaw movements.
- A hardware failure – if the gimbal is broken or if it needs to be professionally reviewed.
- A hardware failure- a faulty ribbon cable that needs to be replaced
- A software glitch that can be fixed by a firmware refresh or a factory reset
- Faulty Core Modular Board
- Damaged gimbal vibration-absorbing damper or the gimbal axis
- You can also get this error on a brand new drone right out of the box. This may be due to poor handling while in transit, which causes wires to get detached, in this case, DJI will get it fixed without any cost to you.
1. clean gimbal
the most common cause of this issue is dust particles stuck in the gimbal restricting its movement. the gimbal uses very little force to move around so few dust particles in the wrong opening can stop its movement easily
If you take off from or land on sandy or dusty surfaces, it is possible for small pieces of debris to get lodged in the gimbal, which decreases the agility and give the motors a hard time functioning.
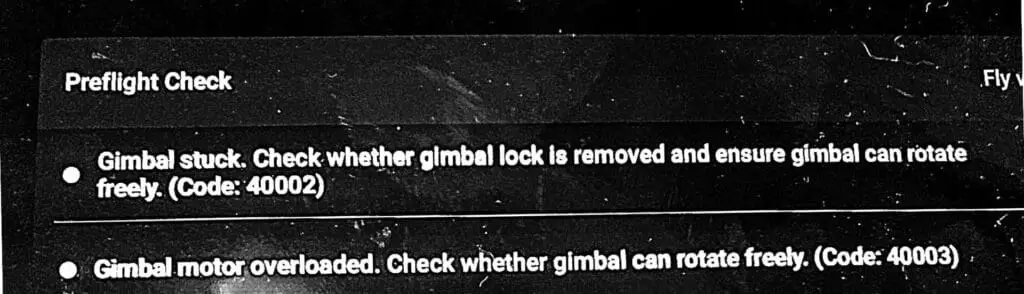
sometimes dust particles can even cause a full restricted movement and you can get “gimbal stuck” error simultaneously with “gimbal motor overloaded”.
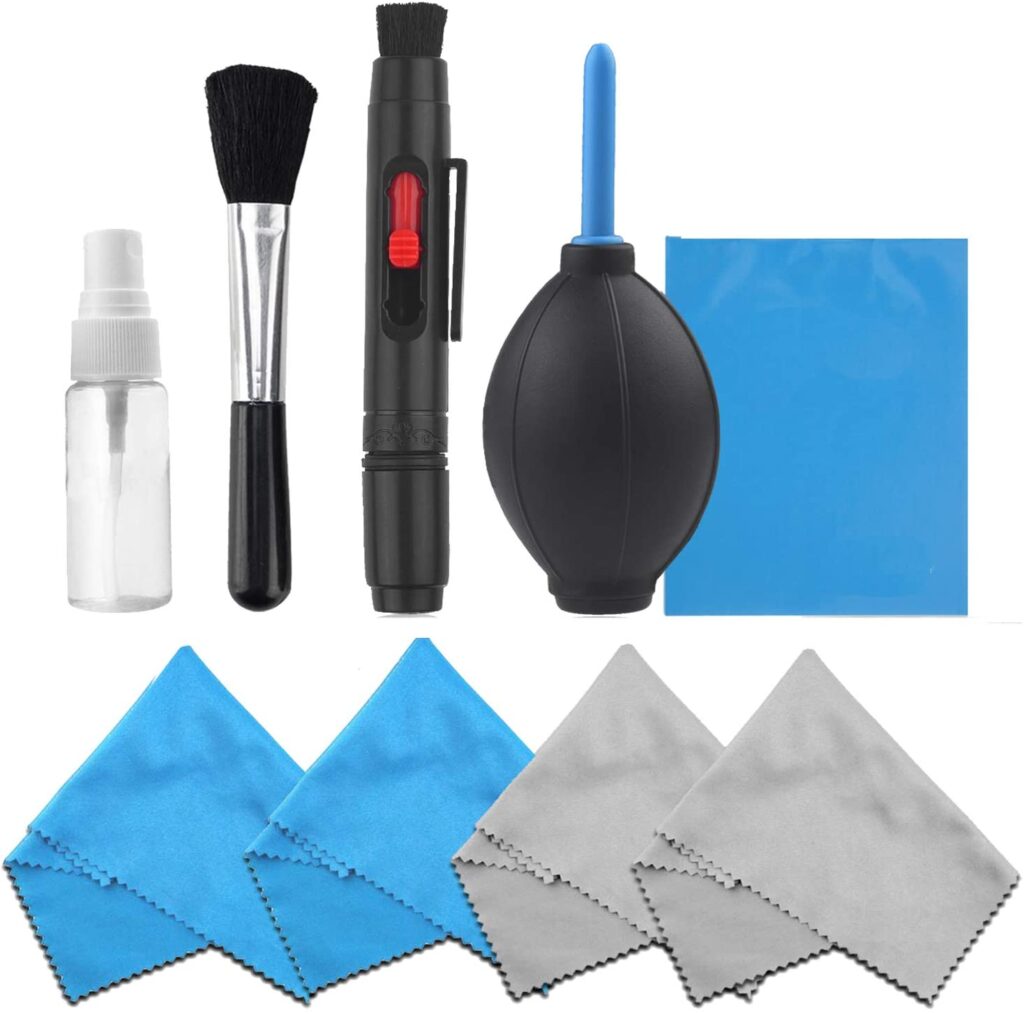
so you can fix this problem by moving it with your finger slowly and lightly in every direction, while doing so you can blow air on it by your mouth to help tiny particles to get unclogged.
If there is something that won’t come out you can buy an air duster and Shoot the air into the rotating parts of the gimbal.
Repeat this process until the gimbal is able to do its start-up routine freely, the gimbal should be pointing forward when it is in a good condition.
Make sure it’s working by moving the aircraft around, and check if the gimbal is able to compensate its movement on every axis which means if the gimbal will move up-down, left-right, counterclockwise, and clockwise), if it does those movements freely you are good to go.
However never use oils or grease, it will make it worse.
2. Calibrate gimbal while the cover is still on
I am not sure how this works and I don’t recommend a quick fix but calibrating the gimbal while the gimbal cover is on seems to work for a lot of people so you can try that.
3. The ribbon cable restricting the gimbal specifically on phantom 4
4. Faulty Ribbon Cable on mavic pro
A ribbon cable is a cable with many conducting wires running parallel to each other on the same flat plane.
If you had a crash or a hard landing then there is a good chance the ribbon cables have been damged or been loose, if there is a loose ribbon cable there won’t be a full transmission/connection to the gimbal motors which makes it hard to function the gimbal.
This error doesn’t necessarily appear spontaneously after a crash, It may take time for a wire that was jarred during the crash to finally break after a crash, wires become loosely connected at first, then when you have a hard landing the loose wires become detached completely.
5. Loose Gimbal Mounting Bracket
The gimbal on DJI drones is mounted with three or four brackets depending on the drone you own, if one of these mounting brackets becomes loose, the gimbal will become loose and end up getting misaligned from its normal position. This means that the gimbal will brush against the body of the drone, preventing it from moving within its full range of motion, and it becomes difficult for the gimbal motors to stabilize the camera.
And for Mavic pro owners the brackets that anchor the gimbal to the body of the Mavic Pro tend to come loose and soft over time, in that case, you might have to get it replaced.
6. A faulty core modular board
A faulty Core Modular Board (motherboard) can also cause a gimbal motor overload.
This is not as common but I have seen at least 3 people send their drone to DJI because they had a gimbal motor overload warning where it end up being the motherboard has been damaged.
The problem here is there is no way to know whether it is the motherboard that is damaged or not so you might have to send it to DJI to get it professionally reviewed.
Not to forget replacing the motherboard can do a lot of damage to your pocket.
7. Refresh the drones firmware in DJI assistant 2
Not as common but a simple firmware refresh can fix the problem so it definitely is worth trying.
- Power on the drone
- Connect it to your computer using the USB cable DJI provides
- Open the DJI Assistant 2 software on your laptop
- Log in to the DJI Assistant 2 app and select your drone
- Next, you will see the firmware version
- Tap update and choose the latest version
- If it is already the latest version click refresh
- Repeat process with every battery you own
You can also refresh the firmware in DJI go 4 app.
8. Downgrade firmware
If refreshing the current firmware doesn’t seem to work, you can downgrade the firmware untill the next update comes out.
You can downgrade your firmware both in DJI assistant and DJI go 4.
To downgrade firmware in DJI assistant–
- Power on the drone
- Connect it to your computer using the USB cable
- Open the DJI Assistant 2 software on your laptop
- Log in to the DJI Assistant 2 app and select your drone
- Next, you will see the firmware version and older versions lined up
- Choose the version one below the current version you have
- Then click install
- Then the drone will automatically restart
To downgrade firmware in DJI go 4
Press and hold the menu icon (three horizontal lines in the top right corner) for five seconds and a special firmware menu appears. You can now select which previous firmware version you would like to downgrade to. Check it out.
9. Factory reset and recalibrate your drone and controller
Before trying to fix the gimbal or sending to DJI for a fix to make sure it is not a software problem you are having try factory resetting the drone.
- First, Install the DJI Assistant 2 Program on your device, make sure you download the proper one.
- Connect your drone to your laptop using the USB cable provided, and wait for the software till it detects your drone
- You’ll be able to see your drone on the Connected Devices screen. Select your drone and then click on confirm.
- Click on Firmware Update. After that, you’ll be able to see the “Restore factory defaults” button.
- Click on the factory reset button and then confirm when you are asked to confirm the reset. A progress bar will pop up showing the progress of the reset. You’ll be notified when the reset is complete.
Note: After a factory reset you have to calibrate everything again.
You can also hard reset the controller
To reset the RC: Turn on the controller, the aircraft should be off. * Press C1, C2, and shutter (top right button nearest antenna) on the controller and hold for about 2 seconds or so until it beeps, then turn the controller off.”
10. Calibrate The Gimbal
the first thing that comes to mind when you have a gimbal error is to calibrate the gimbal ofcorses you most likey have done so already but if you have you should
Calibrating the gimbal is a quick and easy procedure that can be done both on the DJI GO 4 or DJI Assistant 2. The gimbal calibration process is virtually the same for the Mavic and the Phantom. Just follow these steps:
- Tap on the three dots in the upper right corner of the screen.
- Tap on the gimbal symbol.
- Select gimbal calibration.
- A message will appear prompting you to ensure that the aircraft is level and that nothing is obstructing the gimbal’s range of motion. Ensure that the drone is level and that nothing is obstructing the gimbal.
- Select OK, and the gimbal calibration process will begin.
11. Remove Third-Party Accessories
If you are using any third-party accessories with your drone such as ND filters, an anti-glare hood, turn the drone off, remove the accessory, and turn the drone back on. If the error message is no longer displayed, the third-party accessory was the likely culprit.
If you are using several third-party accessories located by or on the gimbal remove each one one by one till you find which one is causing the problem.
12. Bad compass module
Even though the compass module seems unrelated to the gimbal it sure can cause a lot of problems related to the gimbal.
so please make sure you do a compass calibration before you decide to send your drone to the final option you have and that is sending it to DJI where you will get charged your house rent.
Final choice
So, your final option I to send it to DJI to get it professionally reviewed
If you have DJI care there is a good chance you can get it fixed without any cost.
DJI might ask you to send the drone even if it is to refresh the firmware so make sure you do everything you can first.
If you don’t have DJI care you might have to pay from $150 up to $250 for a gimbal replacement but can go up to $400 if the board is damged
After you hand it to DJI it can take up to 15 days till they fix it and send it back to you, and it can take longer if you don’t live in the united states
If you are located in Armenia, you may contact the local dealer or DJI’s support via email to start a case and send the unit back.
Use a gimbal lock to prevent gimbal motor overload for the future
may have wondered if the plastic piece that was holding your gimbal in place was necessary, it most definitely is!
That gimbal lock keeps your camera and gimbal components from swinging every-which-way while moving from place to place which helps avoid damge
Not only does it keep everything from swinging freely, but it protects the gimbal if you were to place the drone down on an object that made contact with the camera.
Drone investments to avoid this problem
To avoid this problem in the future you should buy a gimbal lock if the previous one is broken but most importantly you should get a landing/take-off pad to avoid dust particles from getting to your gimbal