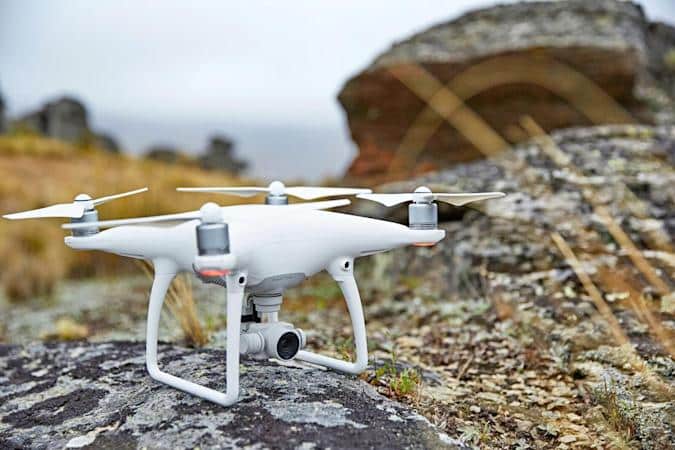
7 things to try if your Mavic pro is overheating
I still can’t tie my mind around the fact that it has been more than half a decade since Mavic pro was released, and with age comes problems.
So, anyway, people seem to have issues with their Mavic pro’s where it is overheating like old MacBooks under a huge workload.
I also had this issue with my mavic a few months back and it started getting worse over time, and some times it littlary burn to touch and i got concerned the drone will fall of from the sky and cause damegde and so i stared looking for a solution on the internet.
Unfortunately i haven’t found an “easy fix” solution but i was able to decrease the issue and so I thought I could share the information
So, why is your Mavic pro might be over-heating
A faulty fan, third party batteries, ambient temperature, motor interference, weight distribution, long mounting bolts, bad heat sink, and filter issues can all be causing or could all be contributing to over heating your drone.
Let me explain them one by one and i will share the troubleshooting methods you can try after.
- Ambient Temperature. Flying your drone on hot days or hot places is going to add more load on your drone obviously, and darker drones such as the Mavic pro are more susceptible to this
- Unnecessary friction If the propellers are making contact with the frame or any added accessories, this will overwork your motor to overcome the friction it has to deal with. Dirt, sand, dust, and grass can also build up between the motor and the propeller, which stops it from spinning freely.
- Third party batteries– If you are using a battery that is not from DJI not only you will void your warranty but that is a chance to have a damaged drone
- Third party accessories– third party accessories like prop guards and such can create an imbalance on the drone can cause unnecessary strain on the motors trying to overcompensate for the imbalanced weight, which will cause them to overheat
- Manufacturing Defects. There might be a manufacturing defect with your motor, heat-sink props and such that might be causing this issue in this case contact DJI
- 3rd party Propellers. if you are using a “silent” propeller or a “biodegradable” prop you might be in a risk of a lot of things including overheating and voiding your warrenty
- Filter Issues. Disabling or restricting your drone’s gyroscope settings causes unwanted noise in the signal. Your drone’s flight controller overcompensates for this noise. By nature, Gyroscope noise is continually changing up and down, which can cause the motors to overheat.
- uncalibrated imu or compass if there is interference b/n what you are getting satellites and the drones sensors while trying to compensate for the drone can overheat
Solving The Issue
First let us start with the software troubleshooting methods
1. Refresh firmware in DJI assistant 2
The firmware of a drone runs the hardware including the fan, so if there is a problem with the firmware there is a chance the fan is not running properly so start of by refreshing the firmware.
To refresh your drone’s firmware-
- Power on the drone
- Connect it to your computer using the USB cable DJI provides
- Open the DJI Assistant 2 software on your laptop
- Log in to the DJI Assistant 2 app and select your drone
- Next, you will see the firmware version
- Tap update and choose the latest version
- If it is already the latest version click refresh
- Repeat process with other batteries(if you own one)
2. Downgrade firmware
If refreshing the current firmware doesn’t seem to do anything you can downgrade the firmware till the next update comes out
You can downgrade your firmware both in DJI assistant and DJI go 4.
To downgrade firmware in DJI assistant–
- Power on the drone
- Connect it to your computer using the USB cable
- Open the DJI Assistant 2 software on your laptop
- Log in to the DJI Assistant 2 app and select your drone
- Next, you will see the firmware version and older versions lined up
- Choose the version one below the current version you have
- Then click install
- Then the drone will automatically restart
To downgrade firmware in DJI go 4
press and hold the menu icon (three horizontal lines in the top right corner) for five seconds and a special firmware menu appears. You can now select which previous firmware version you would like to downgrade to. Check it out.
It is better if you downgrade with DJI go 4 because the controller will follow automatically.
If you downgrade in DJI assistant you most likely have to do the same with the controller
3. Install a new motor
If the excess heat is coming from the motors, it is not recommended but the motors should probably be changed with new.
Most of the time one of the only one or two of the motors should be replaced, the reason is, that motor is not spinning at the same rate as the other motors, causing the drone to fly erratically forcing other motors to componset for it which can lead to crash.
4. Motor Windings
Motor windings are are the conductive wires wrapped around a magnetic core, and you have to make sure they are not touching the screws attaching the motor to the frame.
5. Manufacturing Defect
If you bought a drone from a reputable manufacturer and still have your warranty, consider sending it in for professional diagnostic and repair. Drone manufacturers have a ton of knowledge about identifying the underlying issue and have the tools and parts to replace any faulty motor. Taking this route into consideration might cost you money but might save you time identifying the problem yourself.
6. Recalibrate the compass
IMU and compass calibration are crucial for a safe drone flight, so the beeping might be a way for DI telling you to recalibrate them
- Turn on your Mavic Mini and the DJI go 4 app in the Remote Controller.
- Go to the menu in the top right corner.
- Then go to the drone tab on the top left.
- Go to Advanced Settings at the bottom.
- Then go to Sensor State.
- Select “Compass” in the top middle.
- And tap “Calibrate Compass”.
- Then follow the onscreen instructions.
7. Calibrate IMU
After compass calibration follow up with a IMU calibration.
- Go to an open area outside, away from metal structures, cars, wires and such.
- Turn on your Mavic Mini and the DJI go 4 app in the Remote Controller section.
- Tap on the 3 dots in the top right corner.
- Tap on “Safety”.
- Scroll down to the “Sensors” section.
- Select “Calibrate” to the right of the Compass.
- Click on “Start”.
- The status indicators lights will blink yellow indicating that the calibration is about to start.
- Then follow the onscreen instructions.
- Hold the aircraft horizontally and rotate it 360 degrees in the clockwise direction.
- When the Mavic Mini indicator light changes from yellow to solid green then move on to the vertical calibration.
- Hold the Mavic Mini vertically with its nose pointing upwards and rotate it 360 degrees around its vertical axis.
- The Mavic Mini indicator will turn from yellow to solid green when successful.
- When both horizontal and vertical compass calibration is completed successfully, the indicator light will start flashing green.