6 ways to fix Mavic air controller not connecting to mobile device
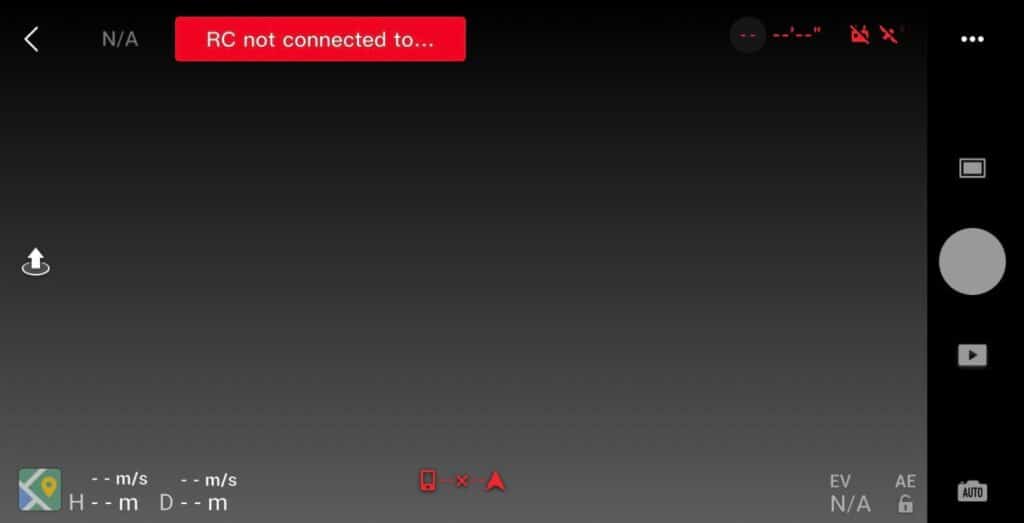
The orignal Mavic air’s controller seems to have this issue where it won’t connect to mobile devices or tablets, especially androids but it can happen on ios devices too.
What usually happens is the phone does not recognize the RC, it can sometimes show a “remote controller connection problem” or (RC not connected to mobile device) error in the DJI fly app or the connection process gets stuck.
I had this exact problem about a couple of weeks ago, then I contacted DJI but their support team couldn’t have been more naive.
Anyways after reading some forums, and the manual that came with my air I found out what the issue was, ironically it was a very easy fix and so I thought I could share the information.
First, Why is Your Mavic air’s controller not Connecting to your phone or tablet?
The problem can be both a hardware issue like a bad cable to a dirty port, or a software issue, like cache, wrong software, and such.
So, how do you fix it? there is no certain way to fix this problem however I will mention the common troubleshooting methods used and the thing I did to fix my issue.
1. Android Users Enable USB-Debugging
I am not a very technical person but USB Debugging is a way for Android devices to communicate with the Software Developer Kit over a USB connection. It allows an Android device to receive commands, files.
So what you have to do is, enable USB-debugging and restart your mobile device and retry connecting them again
To enable it follow the steps below.
- On the Android device, open the settings.
- Tap Developer Settings. The developer settings are hidden by default.
- In the Developer settings window, check USB-Debugging.
- Set the USB mode of the device to Media device (MTP), which is the default setting.
IOS users don’t need to worry about this
2. Change the cable, clean the ports or use OTG
The first thing that comes to mind when your controller is not connecting to your phone is changing the cable, well if you haven’t thought of that, you should.
Instead of using the cable that came with the Mavic air use a different cable, or buy an OTG so instead of USB-c to USB-s it would be USB-c to micro USB or USB-c to lightning.
There are also some cables that are only used for charging you should avoid those, since the software is trying to read the drone, so when buying a cable spend a little more and buy one with decent quality
The next step is to clean the ports, to do that grab a small toothpick, or roll a paper or cotton product into a small tip. Carefully insert the tip into the port and jiggle it to loosen dirt or debris. Give the port another burst of compressed air to help remove anything you’ve loosened, do the same for the mini’s port
3. Update/refresh Controller Firmware
- Power on the remote controller
- Connect it to your computer using a USB cable provided
- Open and log into the DJI Assistant 2 software on your laptop
- Select your drone’s remote controller
- Next, you will see the firmware version
- Tap update if you have an older version or tap refresh if it is up to date
- Click on “Start Update”
- On the next screen, you will see the firmware being downloaded, then transmitted and updating the remote controller
- At 100%, you will see the message, “Update Complete”
- After the firmware is complete, the controller will restart automatically
4. Downgrade controller’s firmware
If refreshing the current firmware doesn’t seem to work and the issue doesn’t seem to go, you can downgrade the firmware till the next update comes out
You can downgrade your firmware both in DJI assistant and DJI go 4.
To downgrade the controller’s firmware in DJI assistant–
- Power on the controller
- Connect it to your computer using the USB cable provided
- Open the DJI Assistant 2 software on your laptop
- Log in to the DJI Assistant 2 app and select the device
- Next, you will see the firmware version and older versions lined up
- Choose the version one below the current version you have
- Then click install
- Then the drone will automatically restart
5. Reinstall DJI go 4
One of the troubleshooting methods DJI support recommended me is to reinstall the DJI go app and that is what helped me to solve the issue.
However there is one key thing they didn’t tell me and that is to restart my iPhone after deleting the app from my phone, I got that info from a forum. so anyways follow these steps.
- Remove the DJI GO app from your phone
- Restart your iPhone
- Reinstall DJI GO app from app store/play store
- Finally restart your phone and try connecting them again
6. Clear cache
If you have previously connected the drone and the controller and you already have a flight history you may have stored cache, and sometimes logged chance can cause problems
To clear the cache go to DJI Go 4 app, click on the settings three dots, and under “General Settings” you can see the video cache settings. You can select to “Clear Video Cache” here and free up a lot more space on your device.
If none of the methods above work for you, your last option is to factory reset your drone.
Final choice
If none of the methods fix it, you might have to send your Mavic air’s controller to DJI, so if the drone is new or if you have a warranty DJI will send you a replacement without any cost, but if not it can cost you a lot of money
After you hand it to DJI it can take up to 15 days till they send a replacement, and it can take longer if you don’t live in the united states
If you are located in Armenia, you may contact the local dealer or DJI’s support via email to start a case and send the unit back.

