10 Things to Try if Your DJI Mavic Mini 2 battery is Not Charging
People are seeming to have this problem where their Mavic minis 2 battery doesn’t charge or doesn’t seem to charge, nonetheless DJI has not come up with any clear answer why that is happening.
I also had this problem a couple of weeks ago, when I plugged my Mavic mini 2 to its charger nothing happened, then I went on google to look for a solution but I didn’t find a clear answer.
Then I contacted DJI support but they couldn’t have been more naive, but then I saw some recommendations on some forums that helped me understand the problem and I fixed mine, so I thought I could curate some possible explanations as to why your Mavic mini 2 might not charging and how you can fix it.
But before we proceed take a look at the precautions you should take first.
- Pay close attention to the recovering battery and don’t leave it unattended.
- Keep the battery away from flammable materials
- Stop the process if you notice the battery deforming or enlarging.
- discard the battery if it’s visibly damaged from the outside.
- Do not dispose of a LiPo battery using heat.
Why is your mini 2 battery not charging and How do You Fix it?
There is no one reason why your Mavic mini 2 is not charging.
Your battery may not be charging due to outdated software, a damaged battery, or a faulty charger, with perhaps bent pins. There are possible issues both software and hardware and it can be hard to ascertain which is causing it but here are some things that might be causing it-
- The battery is in hibernation mode
- The battery is used until it was flat and was stored
- Using unsupported power cable or brick
- Faulty battery or charger
- Overheating
- Dirt build up in the charging port
- A faulty Hardware inside the drone, like a loose wire.
- A software problem that can be fixed with a firmware refresh, which is not easy to do because you can’t turn the drone on in the first place
1. Give the battery time to get out of hibernation mode
If your Mavic mini 2 batteries are not charging it means the batteries are in hibernation mode, so it is recommended you give it at least 3-4 hours before going further. You can use a more powerful charger to get it out of hibernation mode faster, the battery supports 12V-1.5A, 9V-2A, and 5V-3A.
Generally, batteries can’t hold a charge if not used and that can decrease their life span, to avoid this problem, DJI introduced hibernation mode, So when the battery is not used for some time It will go to hibernation mode, or different components of the battery to “sleep” to protect the battery from the free flow of charge, and that is most probably why your Mavic Mini 2 battery seems like it is not charging.
This is also quite common when the batteries are still new and haven’t been charged up yet and makes people think they received a faulty battery although it is just in hibernation mode.
Getting the battery out of hibernation mode doesn’t require much energy it just needs patience-
- Switch on battery – one quick press followed by a press that lasts 3 seconds.
- Plug it into your DJI charger.
- The battery will eventually come out of hibernation mode without you needing to do anything, it can take hours.
Note: If you have more than one battery and you are using a charging hub to charge them you should understand not every battery will come out of hibernation at the same time some can take longer, so if some batteries are not responding give them some time.
2. Fully flat battery (flat lipo)
Lithium Polymer batteries are lightweight and provide long flight times, However they have this problem where if you use them till they are flat they might have a hard time trying to charge again.
So, how’re you supposed to recover a flat LiPo battery? Here are the basics.
You can fix your Mavic Mini 2 LiPo battery that is not charging by using a multi-functional charger. Start by charging the battery at 0.1A using a NiMH charger. Once it’s recovered to around 2-3 volts per cell, you can switch to the LiPo setting and balance the charge of the battery until it’s fully recovered.
3. Overcurrent Protection
DJI smart chargers stop the current from reaching the battery when there is too much of it to avoid damage.
There is no way to fix this problem except waiting until the power outlet gets normal and, you can try unplugging the charger and replugging it after a minute or so. If the amperage still doesn’t regulate, the power outlet might be the culprit instead.
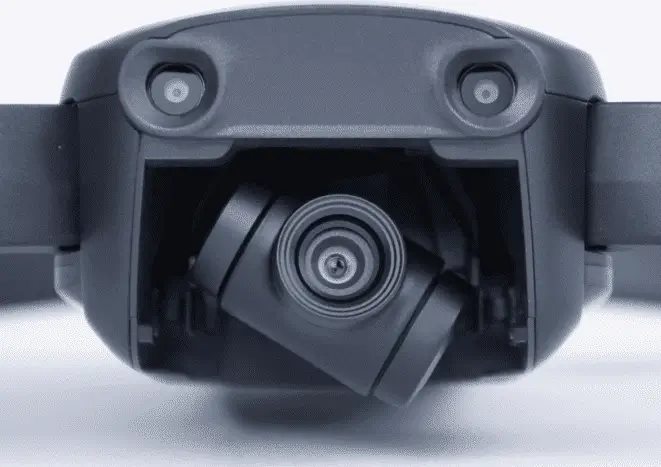
4. Clean the charging ports on the mavic mini 2
The next step is to clean the ports, to do that grab a small toothpick, or roll a paper or cotton product into a small tip. Carefully insert the tip into the port and jiggle it to loosen dirt or debris. Give the port another burst of compressed air to help remove anything you’ve loosened, do the same for the mini’s port
5. Change the charging brick
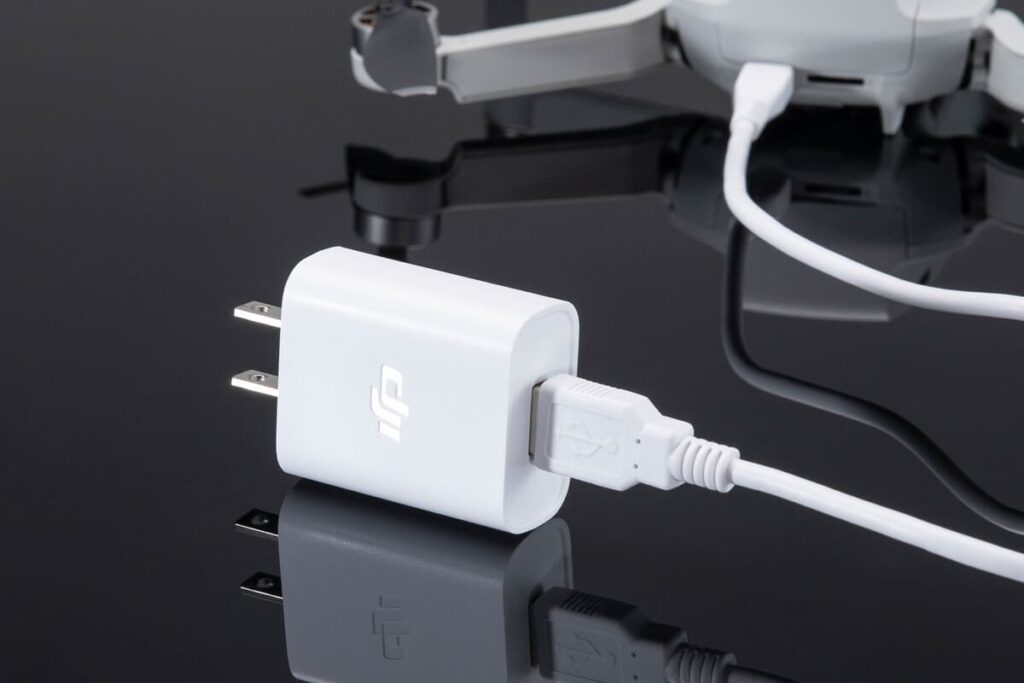
To get the battery out of hibernation mode you might need more power than usual so if you are not using the charger that came with the drone that can be the issue.
It is better if you use an approved DJI charger for this because there is no guarantee that any third-party or phone charger can kick the battery out of hibernation. You can use your iPhone charging brick to charge your drone but to get it out of hibernation mode you might need more power than usual.
The DJI Mavic mini’s 2 intelligent flight battery supports input of 12V 1.5 A / 9V 2A / 5V 3A.
6. Overheating
If you want to charge the drone right after being used it might not respond, and that is because the intelligent battery blocks power input if the battery is above a certain temperature, this is done to avoid explosion, swelling, and such.
For this, you don’t have to do anything, unplug it and give it 30 minutes till it cools down then it will start charging normally.
7. Faulty charger
If you are not successful with the previous steps you might have a faulty charger, so we need to check and see if your charger is broken.
- Plug the charger into a wall socket that you know is working, try plugging your phone to check it is working.
- Turn the battery on and plug it in, The flat turned on the battery should be flashing red before connection.
- If the battery keeps flashing red after red, that means the charger is not working and there you have it
Another great way to check if a charger is dead is by using a voltage tester. If there is no voltage, then you’re dealing with a dead battery.
8. Dead battery
Battery damage can be caused by age, physical damage, or poor battery maintenance and it might be time to buy another battery
There is no way to check if your battery is dead except when you turn it on if it doesn’t flash red that is a sign it might be dead but you can’t be sure
But if the battery has had a short life for the past weeks or if it discharges randomly it was a sign it is old and needs to be changed.
Mavic pro batteries are sold for about $70 on Amazon, but before you buy a replacement to make sure it is the charger that is not working try different chargers.
9. Refresh the batteries firmware
So if you can somehow get the battery out of hibernation and charge it to 30% you should defiantly do a firmware refresh to prevent this problem in the future
watch the video below which shows you how you can refresh your batteries firmware
If DJI go tells you to update the batteries firmware great if not connect your drone to DJI assistant and do a firmware refresh with every battery you own.
10. Factory reset your drone
You can try factory resetting the drone with the battery that is having problems to start of with clean software.
This is really not important if you have already refreshed the firmware, but just in case there is still some error in the software that hasn’t been solved with a firmware refresh.
- First, Install the DJI Assistant 2 Program on your device, make sure you download the proper one.
- Connect your drone to your laptop using the USB cable provided, and wait for the software till it detects your drone
- You’ll be able to see your drone on the Connected Devices screen. Select your drone and then click on confirm.
- Click on Firmware Update. After that, you’ll be able to see the “Restore factory defaults” button.
- Click on the factory reset button and then confirm when you are asked to confirm the reset. A progress bar will pop up showing the progress of the reset. You’ll be notified when the reset is complete.
Note: After a factory reset you have to calibrate everything again
Final choice
If none of the methods fix it, you might have to send it to DJI, so if the battery is new and you bought it from DJI, they will send you a replacement without any cost.
After you hand it to DJI it can take up to 15 days till they send a replacement, and it can take longer if you don’t live in the United States
If you are located in Armenia, you may contact the local dealer or DJI’s support via email to start a case and send the unit back.