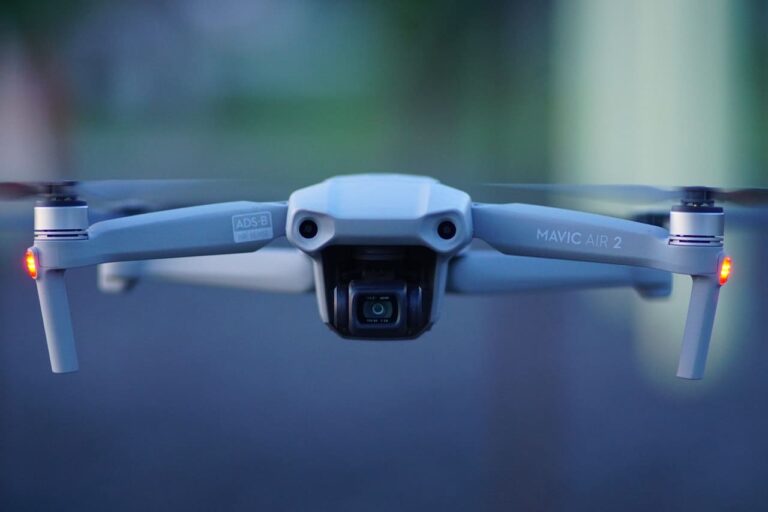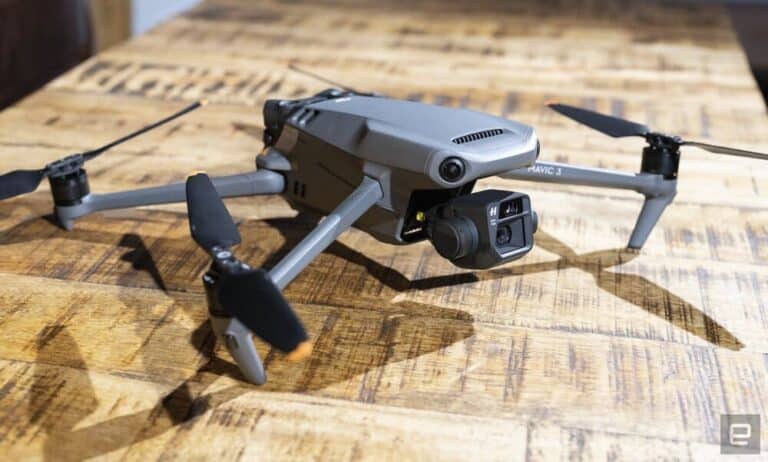
8 Things to do if Your Mavic Air 2 is Not Moving Sideways
There has been this issue where DJI Mavic air doesn’t move lo left and right, and this issue came with a 2020 firmware update nonetheless, DJI has not come up with any solution or any clear answer why that is happening so I thought I could curate some possible explanations why that is happening and possibly see if you can fix it.
I also had this issue about 3 weeks ago, then I went on the internet but no one seems to know how to solve the issue, then I contacted DJI but they didn’t provide me any solution, anyways after reading a bunch of forums, hours of frustration, but I finally solved the issue and so I thought I could spread the information.
So why is this happening and how do you fix it?
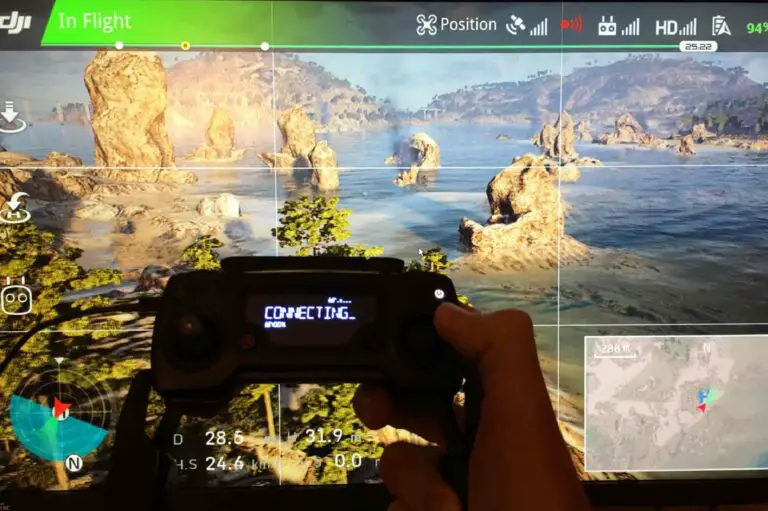
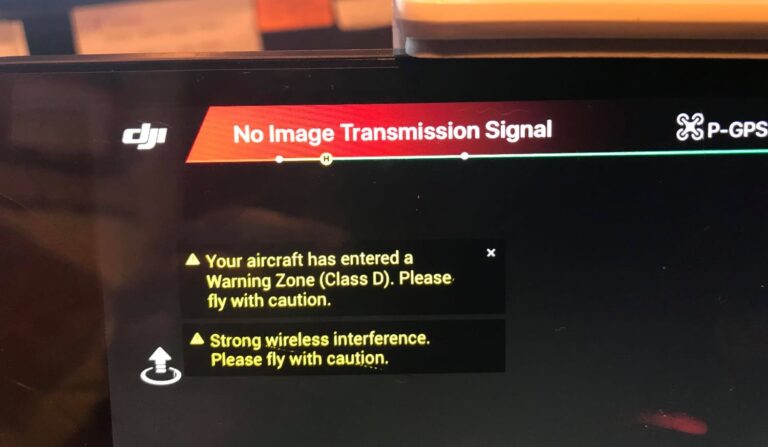
If your Mavic air 2 is not moving sideways it is usually because, the drone is in “safety flight mode”, you have turned ” disable sideways flight” in settings, there is a strong signal interference, the obstacle avoidance sensors are covered or you are flying very close to an obstacle.
According to DJI, this is a software limitation set purposely to avoid obstacles, but in my opinion, it is doing more harm than good.
The great thing is you can turn it off, however depending on the severity of the issue you can roll back the firmware to earlier versions.
There is no one certain way that is guaranteed to fix this issue, so I will mention all of them try them one by one
1. Turn off “disable sideways flight” in dji fly
- Tap the three dots on the top right corner of DJI FLY
- Click saftey
- Under safety turnoff “disable sideways flight
- Close the DJI fly and start it again and you are good to go
2. Refresh firmware in DJI assistant 2
- Power on the drone
- Connect it to your computer using the USB cable DJI provides
- Open the DJI Assistant 2 software on your laptop
- Log in to the DJI Assistant 2 app and select your drone
- Next, you will see the firmware version
- Tap update and choose the latest version
- If it is already the latest version click refresh
- Repeat process with other batteries(if you own one)
3. Update/refresh Controller Firmware
The Drone’s and the controller’s firmware must match so after refreshing or updating your drone’s firmware you should do the same for the controller.
so to update/refresh your RC’s firmware-
- Power on the remote controller
- Connect it to your computer using a USB cable provided
- Open and log into the DJI Assistant 2 software on your laptop
- Select your drone’s remote controller
- Next, you will see the firmware version
- Tap update if you have an older version or tap refresh if it is up to date
- Click on “Start Update”
- On the next screen, you will see the firmware being downloaded, then transmitted and updating the remote controller
- At 100%, you will see the message, “Update Complete”
- After the firmware is complete, the controller will restart automatically
4. Downgrade firmware
If refreshing the current firmware doesn’t seem to work and the issue doesn’t seem to go, you can downgrade the firmware till the next update comes out
You can downgrade your firmware both in DJI assistant and DJI go 4.
To downgrade firmware in DJI assistant–
- Power on the drone
- Connect it to your computer using the USB cable
- Open the DJI Assistant 2 software on your laptop
- Log in to the DJI Assistant 2 app and select your drone
- Next, you will see the firmware version and older versions lined up
- Choose the version one below the current version you have
- Then click install
- Then the drone will automatically restart
To downgrade firmware in DJI go 4
press and hold the menu icon (three horizontal lines in the top right corner) for five seconds and a special firmware menu appears. You can now select which previous firmware version you would like to downgrade to. Check it out.
It is better if you downgrade with DJI go 4 because the controller will follow automatically.
If you downgrade in DJI assistant you most likely have to do the same with the controller
5. Recalibrate the compass
calibrating the compass is not going to do much but it wouldn’t hurt to do it.
- Turn on your Mavic Mini and the DJI go 4 app in the Remote Controller.
- Go to the menu in the top right corner.
- Then go to the drone tab on the top left.
- Go to Advanced Settings at the bottom.
- Then go to Sensor State.
- Select “Compass” in the top middle.
- And tap “Calibrate Compass”.
- Then follow the onscreen instructions.
6. Calibrate IMU
After compass calibration calibrate the imu.
- Go to an open area outside, away from metal structures, cars and such.
- Turn on your Mavic Mini and the DJI go 4 app in the Remote Controller.
- Tap on the 3 dots in the top right corner.
- Tap on “Safety”.
- Scroll down to the “Sensors” section.
- Select “Calibrate” to the right of the Compass.
- Click on “Start”.
- The status indicators lights will blink yellow indicating that the calibration is about to start.
- Then follow the onscreen instructions.
- Hold the aircraft horizontally and rotate it 360 degrees in the clockwise direction.
- When the Mavic Mini indicator light changes from yellow to solid green then move on to the vertical calibration.
- Hold the Mavic Mini vertically with its nose pointing upwards and rotate it 360 degrees around its vertical axis.
- The Mavic Mini indicator will turn from yellow to solid green when successful.
- When both horizontal and vertical compass calibration is completed successfully, the indicator light will start flashing green.
7. Clear cache
Clearing the cache is probably the easiest way to fix this problem but the success rate is lowhttps
To clear cache go to DJI Go 4 app, click on the settings three dots, under “General Settings” you can see the video cache settings. You can select to “Clear Video Cache” here and free up a lot more space on your device.
If none of the methods above work for you, your last option is to factory reset your drone.
8. Factory reset your drone
- First, Install the DJI Assistant 2 Program on your device, make sure you download the proper one.
- Connect your drone to your laptop using the USB cable provided, and wait for the software till it to detect your drone
- You’ll be able to see your drone on the Connected Devices screen. Select your drone and then click on confirm.
- Click on Firmware Update. After that, you’ll be able to see the “Restore factory defaults” button.
- Click on the factory reset button and then confirm when you are asked to confirm the reset. A progress bar will pop up showing the progress of the reset. You’ll be notified when the reset is complete.
Note: After a factory reset you have to calibrate everything again.
finnaly hard reset the controller
To reset the RC: Turn on the controller, the aircraft should be off. * Press C1, C2, and shutter (top right button nearest antenna) on the controller and hold for about 2 seconds or so until it beeps (D-DDD), then turn the controller off.”
Final choice
If none of the methods fix it, you might have to send your air 2 to DJI.
If you decide to send it to DJI provide your serial number to them for them to check if you have a warranty which I don’t think you have because the product is old anyways, After you hand it to DJI it can take up to 15 days till they send it back to you, and it can take longer if you don’t live in the United States
You will however cover the shipping cost
If you are located in Armenia, you may contact the local dealer or DJI’s support via email to start a case and send the unit back.