2 Ways to Fix Gimbal Calibration Error Code 40011

I crashed my Mavic Air a few weeks ago, and when I went to fly it again, I received the error “Gimbal Calibration error. restart the aircraft or contact DJI support if the problem persists Error Code 40011.”
After contacting DJI support, hours of frustration, and experimenting with various solutions, I fixed it and saved myself some money, so I figured I could do the same for others.
What causes Gimbal Calibration Error Code 40011
This problem usually occurs after a crash, but it can occur at any time, even in new drones. It can be caused by both software and hardware issues.
Hardware Issues
- If there is visible damage on your drone, especially the gimbal, send it to DJI or a third-party professional to be repaired.
- Drone wires are very soft and fragile, so if you have a crash, even if it is a soft bump, there is a chance it was caused by a faulty wire, and you should send it to DJI because attempting to repair it may void your warranty.
- Also check if the gimbal can move in every axis and direction freely, if it is stuck it is a completely different problem, check this article I wrote that can help you with that.
Software problems
If the problem is with the software, I have good news for you: you can fix it by yourself!
So there is DJI software called Repairtool which is used to fix different types of DJI drone’s software problems such as “IMU data error”, “Gimbal Calibration Error” and many more. However, DJI won’t let the public access this software.
Rolling back firmware and calibrating gimbal
Firmware rollback or downgrade refers to the process of uploading older versions of the software that operates your drone.
Now I’m going to show you how to roll back the firmware and reset the gimbal. It may appear complicated, but it is what helped me fix the “Gimbal Calibration Error” if you can watch the video below where I show you step-by-step how I did it.
1- Go to drone-hacks.com
Go to your browser and type drone hacks and go to the first website, this website is handy to manipulate drone’s software, it is commonly used to Remove No-Fly-Zones, Altitude limits, and such kinds of things but it can also help to fix software problems like this
2- Download the software
There are three options to choose from: for mac, windows, and Linux. choose the one that is compatible with your computer and download it
There is no installation and no sign-up required.
3- Connect your drone to your pc
Just connect your drone to your pc with the provided cable.
The software will be able to recognize the drone. If not restart the drone and connect it again.
4- Click hacks/flash firmware tab
click hack/flash firmware under that tab you will find “download firmware” click it and it will automatically lead you to the download page.
5. Download firmware
The software will automatically choose the latest firmware for you, however, we don’t want that so change it to V01.00.0302 that is the version that we are going to use to fix “Error Code 40011” after choosing that version go ahead and download it.
6- Install the firmware to the drone
Go to the folder where you downloaded the firmware and choose it and wait for 5-10 minutes then you are done! you can now close the software.
7- open dji go 4 app
The error will still be there, don’t worry yet!
- Go to settings, under control, click center gimbal,
- Your drone will start the calibration process It will take a minute or two, and hopefully the problem will be fixed.
Make sure your drone has a full battery before this process
If this method was too complicated, you can also downgrade the firmware in the DJI assistant 2 or go 4 app and try to calibrate the gimbal.
Finally, update the firmware
So, in the last process, we downgraded the firmware, so after getting rid of the error, we can update it again.
To upgrade the firmware follow these steps.
- Connect the drone and controller to your mobile device using the supplied cable.
- Make sure both the drone controller and the drone are powered on and have a full battery.
- Open DJI GO 4 or DJI Assistant.
- Within the app, a notification will appear letting you know if there is an update available(on the home screen, not the camera view screen).
- Tap Firmware Download.
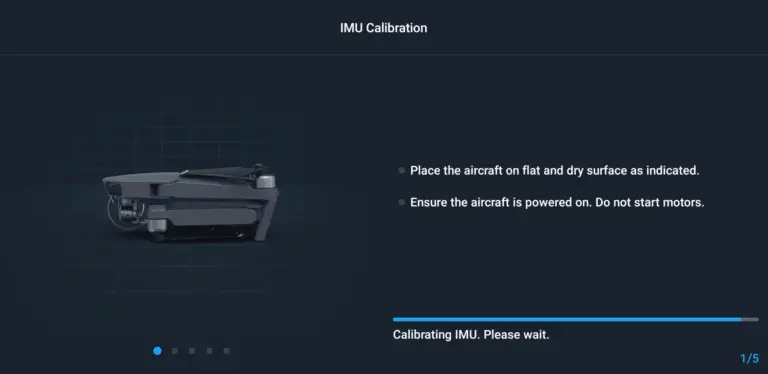
After updating the firmware calibrate the gimbal and the IMU again.
*Note: before firmware update make sure all your drone, controller, and phones battery are fully charged because it can take up to 30 minutes*
Final choice
If none of the methods seems to work, contact DJI and they will assist you.
If the drone is within a year of activation or if you have DJI care, you may be able to get it repaired for free. If you do not, you may be forced to pay hundreds of dollars, depending on the circumstances.
After you give it to DJI, it may take up to 15 days for them to fix it and return it to you, and it may take longer if you live outside of the United States.
Finally, if you are in Armenia, you can email the local dealer or their support team to open a case and return the unit.

