Does Mavic Air 2 Record Audio? No, but here is a Work Around
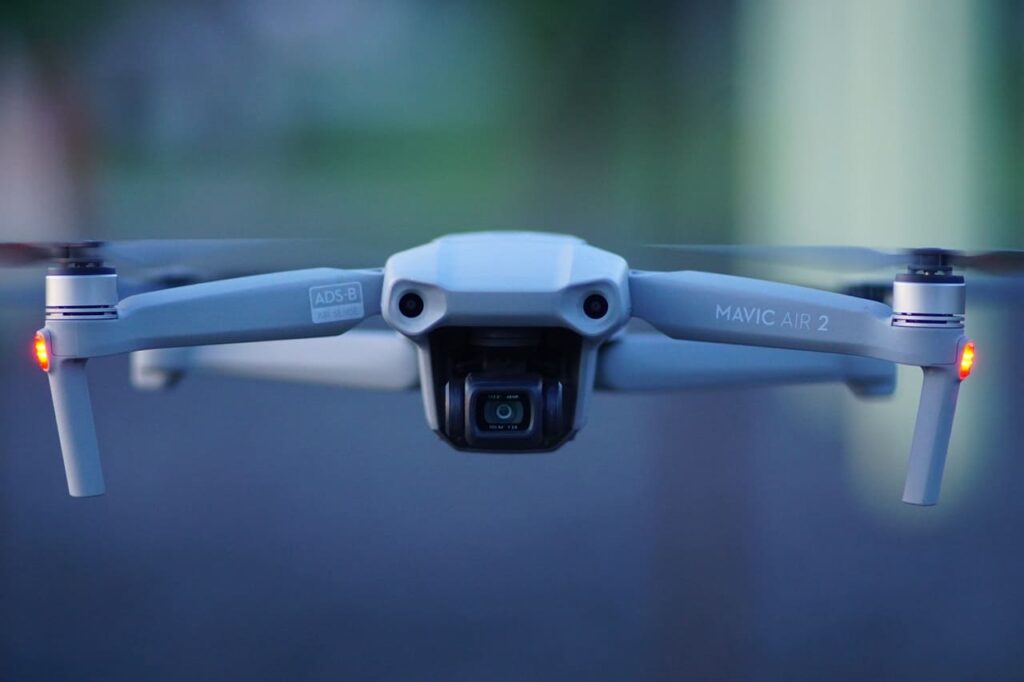
The Mavic air’s successor Mavic air 2 has shown to be a phenomenal tech, but does it also record sound to go along with the videos?
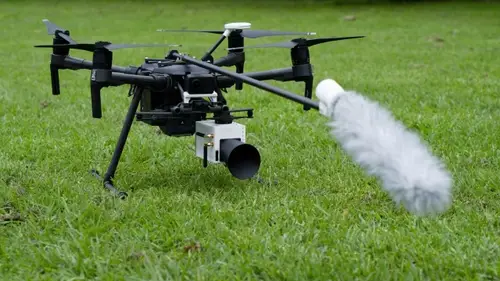
Just like any other drone Mavic air 2 is not capable of recording audio because they are not equipped with a built-in mic, you can however attach a wireless external mic on them and record audio, but the mic will predominantly capture the propeller wash and wind noise.
But there are a handful of ways you can use to record audio with your Mavic air 2, and one of them is the infamous video caching built-in with DJI drones.
And as a drone enthusiast, I have more or less tried every single way possible to record decent audio from my drone, and I am here to share my knowledge.
If you want to read an in-depth article I wrote on how to record audio with your drone check this article, which also has a great interview with a company that has successfully incorporated sound recording with drones and is working with DJI to make it public.
So Why Can’t Mavic Air 2 Record Audio?

Just like every other drone mavic air 2 can’t record audio simply because they are very loud.
If you haven’t been exposed to drone noise before it is the same level as a functioning washing machine or a very loud alarm clock, which makes it hard to record audio not only with it but also around it.
Download an audio of a swarm of angry bees and add it to the footage you got from your drone, Basically the same as recording audio from the aircraft.
From DJI forum
But if you think about it even if drones had no propeller and motor noise there wouldn’t be much to hear when you are that high up.
I mean the drone will be flying 20-400 feet above the ground, recoding from that high up can be useful for a white noise that is going to be layered with a video, but for dedicated audio, you need higher quality audio recorded within a 2 meter radius from the sound source.
But this doesn’t mean it is impossible, infact there are different ways you can use to record sound with your drone
Other Methods Of Recording Audio With Your Mavic air 2
1. Recording Audio Using The Smartphone mic
The most common way of recording audio while operating your DJI drone is by using your smartphone’s built-in mic.
This is commonly used when people want to record themselves talking for live streaming, or narrating what is happening around them, so if you are well-spoken it is a great feature to use.
But you don’t have to necessarily need to speak to use this feature you can also record the ambient sound around you especially if there are birds chirping or ocean crashing that would be wonderful background noise.
However for this to work the drone has to be at least 100 ft (30m) far from you, or it will ruin what you recorded.
So to record audio with your smartphone while flying your drone follow the steps below
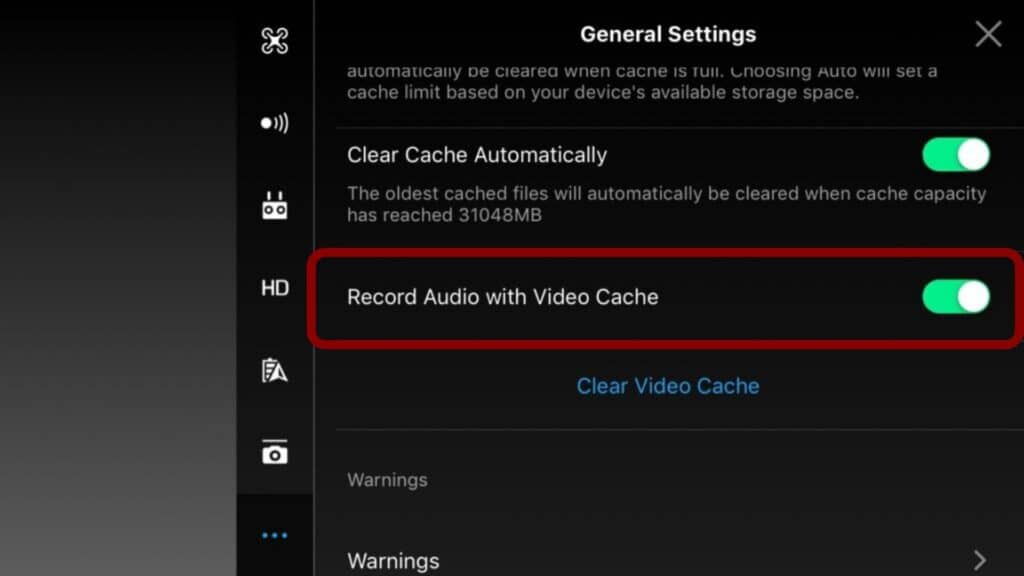
- Open DJI GO 4 app
- Tap the three dots in the upper righthand corner
- Enable “cache during video shooting” and/or “record audio with video cache”.
Once you do that your smartphone/tablet mic will start recording and the audio recorded will be synced up with the video from the drone.
The video below explains the process very well.
There is however a catch with this method, The video footage from the cache will be 780 max quality.
There will be the footage from the drone once you land it but if you want to use that with the audio you got from your phone you will have to edit them and it is not going to be an easy process.
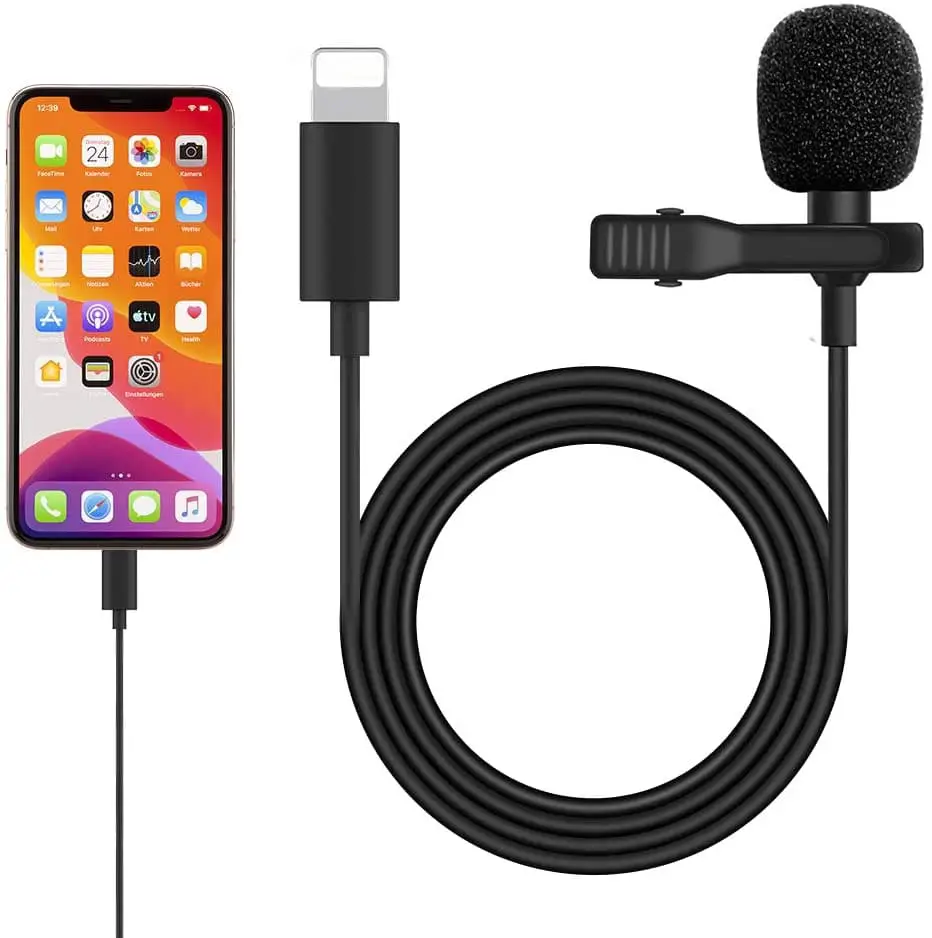
To enhance the sound you can buy a dedicated external mic and connect it to your phone, they are very cheap and they will definitely upgrade your quality audio significantly
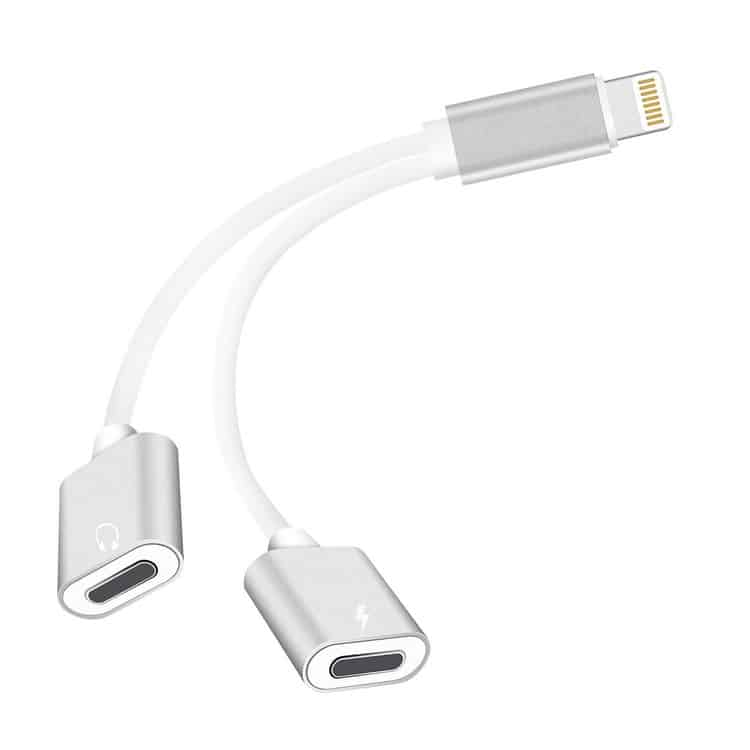
However since smartphones have a single port you need a splitter cable to connect the external mic, unless you have a wireless mic.
Splitter cables are super cheap you can get them for like 10 bucks on amazon, however make sure they fit into the controller’s clamp.
2. Mounting a Lav Mic on your Mavic air 2
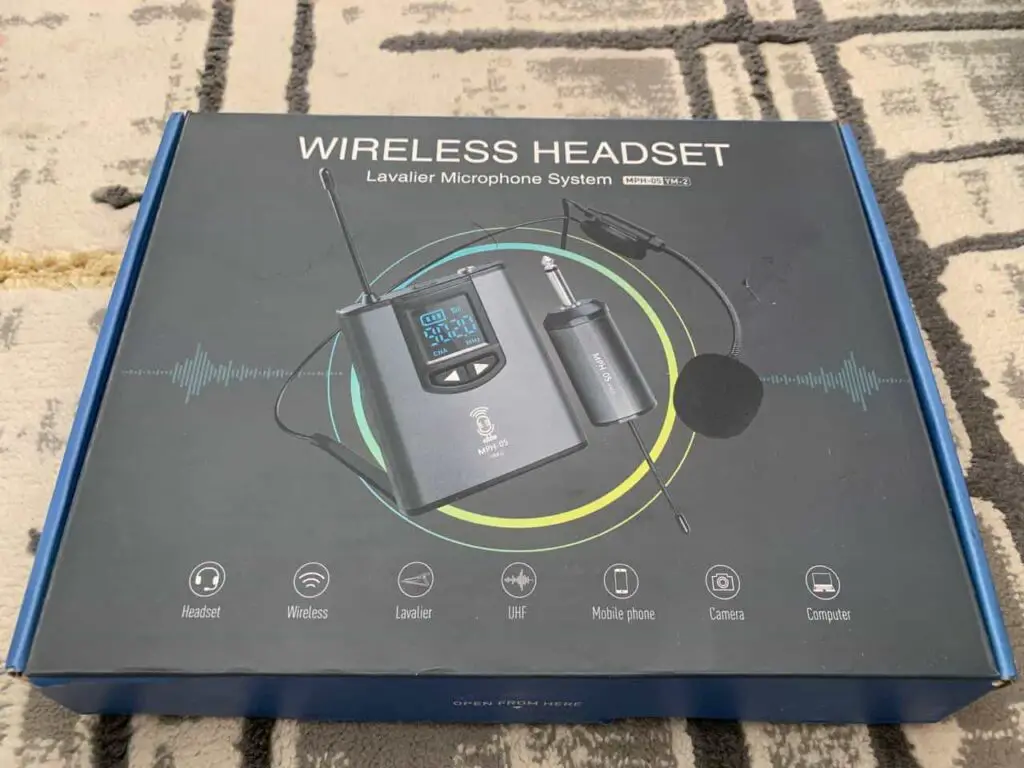
It is also possible to attach a lavalier microphone directly on the Mavic, the audio wouldn’t be pretty but you can process it and make it somewhat better by cutting certain frequencies from the full spectrum of audio.
However what I recommend you do is instead of attaching a mic directly to the aircraft, you can have a lavalier mic dangling about 10 to 20 feet underneath the drone.
This method of recording audio is way better than attaching a mic to the drone, one because you will minimize as much buzzing noise from the props, because the further the mic is from the propeller and the motor the better, and two the mic won’t have physical contact with the drone which decreases the vibrations from the motors.
After you are done recording you can edit the audio with video editing software like adobe premiere by using EQ audio plugins it wouldn’t be perfect but it can work.
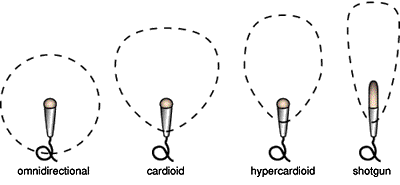
I suggest using a hyper-cardioid or mic as they will filter out some of the noise coming from the propellers and they will pick more sound from the ground instead of from above.
Even so, you’d probably have to get right up next to the subject in order to get a decent audio.
So, what’s the catch?
Dangling the mic from the drone may result in the mic swinging back and forth as the drone moves, Creating a pendulum effect that can actually cause the prop to destabilize! this effect will be worse on smaller drones such as Mavic mini
Additionally, the added weight of the mic can reduce the total flight time of the drone, especially in lighter drones such as the Mavic mini. Not to mention the swinging mic could potentially latch onto objects nearby such as trees or power lines.
You can either record sound with your drone using a standalone voice recorder or the microphone on your controller device.
3. Using a screen recorder
One way of recording audio is by using the voice recorder app on your phone
However, if you have ever tried to record audio with voice recording apps while flying your drone, DJI GO 4 will force stop them.
But you can use a screen recording app while DJI Go 4 is running, this method is useful if you want to narrate what is happening around you.
If you are using an Android product, I recommend using AZ screen recorder.
For Apple products you can not use the apple screen record because it does not record outside audio, it just record sounds that are from the phone such as notification from the phone and such, so you will have to download other 3rd party screen recorder, I recommend app called “record it”
4. Using a dedicated Sound Recorder
Using a standalone voice recorder that you carry along with you is one of the more professional ways of recording sound while operating drones
You can simply attach the mic to yourself instead of the drone, however, the recording will not be from the flight itself, instead it will record the sounds at the place where you are at.
However, you would have to sync the audio with the video post-flight, which can be a bit overwhelming and it does require a certain level of technical experience and knowledge in video editing software, personally I use adobe premiere but there are various software you can use.
To make things easier you can use the clapping method. so basically you clap when you begin recording, as this can be used as a point of reference when you are editing.
5. Using the Microphone On Your smart Controller
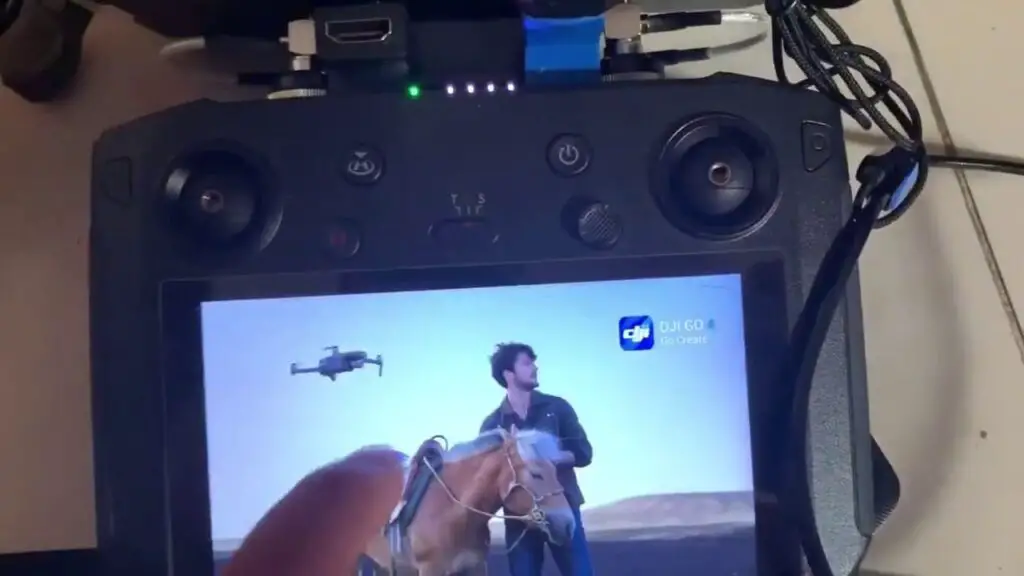
If you have a DJI smart controller that you use to operate your Mavic air 2 you can use it to record audio, just like you would use your smartphone or tablet.
The Smart Controller supports microSD cards with a capacity of up to 128 GB, which will be useful in this situation
You can also record sound to go with your drone video using the microphone on your controller device.
To allow the sound recording in the smart controller locate the cache option under the menu’s general setting and turn it on.
The recorded audio will be stored on the SD card you inserted into the smart controller. After that, you will need to download the cache separately on your computer to blend in with the video footage you got from the drone,
How to Add Audio to Drone Footage
After recording audio with stand-alone audio recorded or if you used the video caching method you might have edited the clip with the audio post-production. there are hundreds of both paid and free tools to assist you with that.
On the other hand, if the sound needed is music DJI Go 4 app will provide you with an overwhelming amount of loyalty-free music or you can download them from youtube.
To use the app, upload the music to the local library, and then during the editing process just click the plus symbol ‘+’ displayed on the music, then select your desired music, you can do this at different intervals during the editing session.

