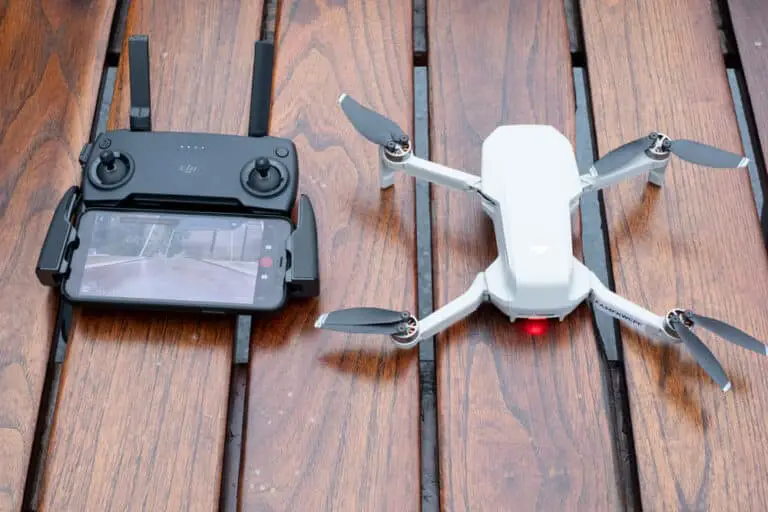
5 Things to try if your Mavic Air IMU Calibration won’t start
First-time drone owners often can’t get past the IMU calibration process, this can also happen when you switch drones because every drone has a little different process.
mavic air has been the biggest problem when it comes to the IMU calibration the reason being; people not following the instructions as stated, doing it in the wrong place, and the wrong position, different software problems, and DJI go 4 app not functioning properly.
But first, I want you to understand if it is possible or not to fly without doing IMU calibration, I see many people trying that because they weren’t able to calibrate the IMU.
Can you fly without IMU calibration?
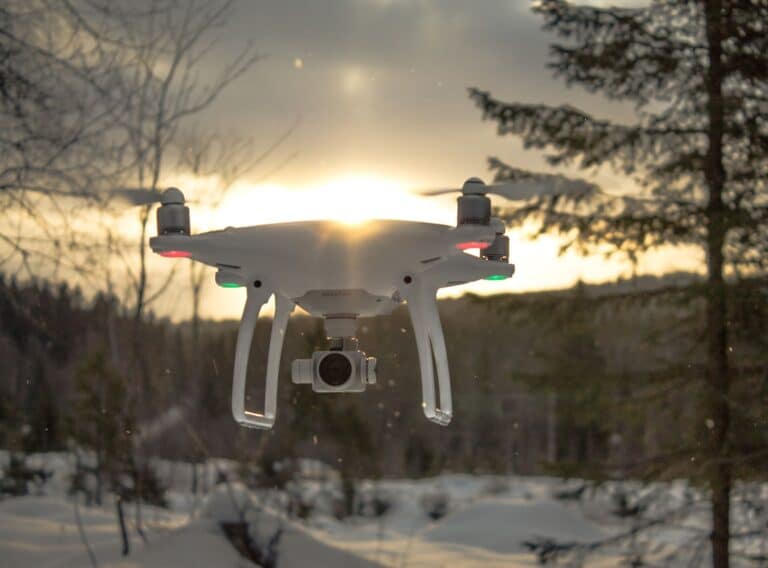
IMU or inertial measurement unit’s job is to keep the aircraft stable while in flight, so if you don’t calibrate the imu, the drone will start drifting right after liftoff, the drone will try to avoid obstacles by using its sensors however it will be hard to operate for the operator.
If you have seen a drone go forward or backward for no reason that is because the IMU needs calibration.
Some drones come with a calibrated IMU so if you are not getting a notification on your DJI go for app, chances are you shouldn’t worry about it unless there is a red flashing light on the arms.
If there are red flashing lights on the arms that also means you need to do IMU calibration
So what is causing this issue?
IMU calibration not starting can be caused by the drop in ambient temperature that affects the barometer. this problem can be fixed by factory resetting the drone and recalibrating the in a low-temperature environment, also try a firmware refresh in DJI assistant or do a factory reset if nothing seems to help.
Anyways let us get to the troubleshooting, there is no one certain way that is guaranteed to fix this issue, so I will mention all of them try them one by one
1. Put the drone in the freezer on a cold place
So to fix it try to calibrate the IMU in a cold place or put your Mavic air in the freezer beforehand
you can turn your house to go below room temperature, Get the AirCraft (A/C) as cold as possible, you can even place it in a refrigerator, and then recalibrate the IMU.
The colder you can get it, the sooner you can get the process started after removing it from the cold area.
You can also do this process at night outside of your house where the temperature is colder, then when you want to fly your drone at day time it wouldn’t take as much time to initialize IMU.
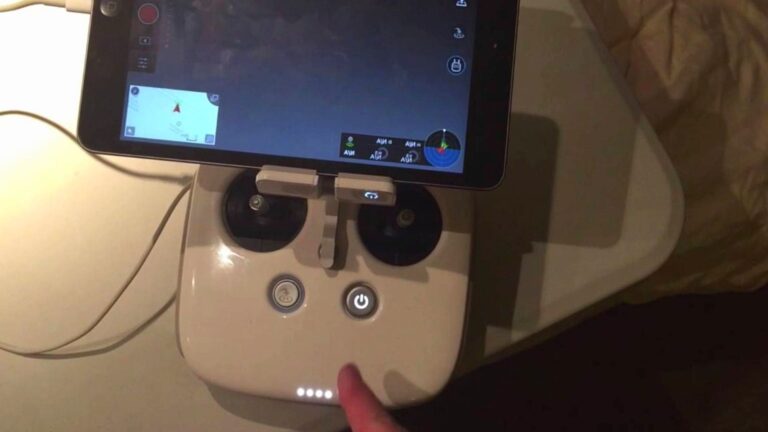
- First, startup Aircraft & Controller
- From DJI go 4 app go to Menu on the top right
- Go to Aircraft button (in the menu the uppermost button)
- Then go to Advanced Settings then Sensors State
- “IMU Calibration”
- When done (can take UP TO 10mins!) -> “Check IMU”
2. Slap the back of the drone
No matter how absurd it sounds slapping the drone like an old TV is what solved my issue so many people have reported the same, so before even trying anything slap the top of the drone a few times and see if that fixes the problem.
3. Place your drone on a flat/level surface
I hope you already know this but the drone has to be on a flat level for it to start the imu calibration process.
If you have an iPhone open your measure app or if you have an android download bubble level app and make sure you place your drone on a level surface
4. Refresh the drone’s firmware in DJI assistant 2
- Power on the drone
- Download the proper DJI assistant for mavic air here and so on
- Connect it to your computer using the USB cable DJI provides
- Open the software on your laptop
- Log in to the DJI Assistant 2 app and select your drone
- Next, you will see the firmware version
- Tap update and choose the latest version
- If it is already the latest version click refresh
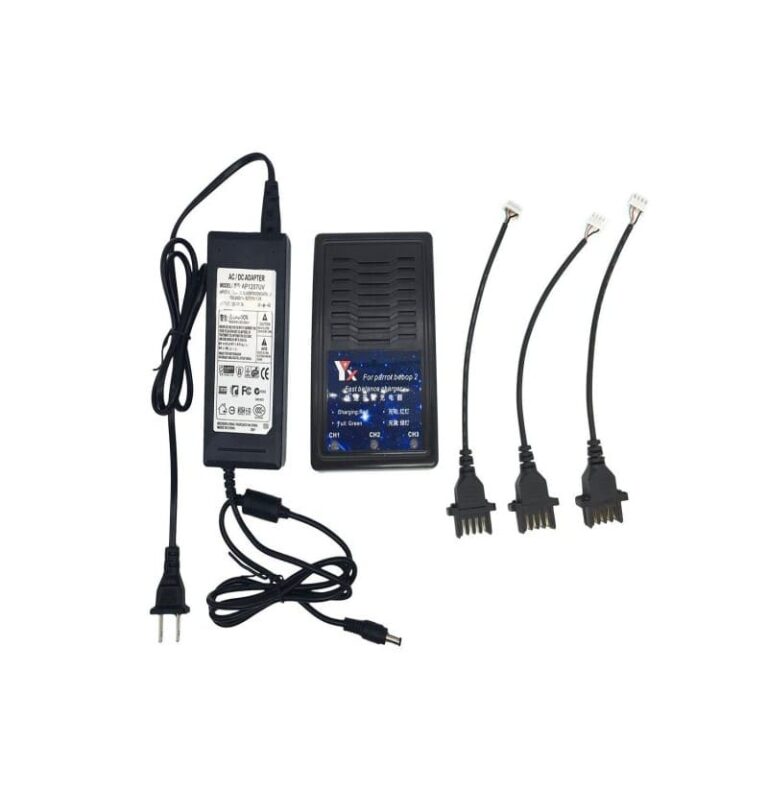
- Repeat process with every battery you own
5. Downgrade firmware
If refreshing the current firmware doesn’t seem to work, you can downgrade the firmware till the next update comes out.
You can downgrade your firmware both in DJI assistant and DJI go 4.
To downgrade firmware in DJI assistant–
- Power on the drone
- Connect it to your computer using the USB cable
- Open the DJI Assistant 2 software on your laptop
- Log in to the DJI Assistant 2 app and select your drone
- Next, you will see the firmware version and older versions lined up
- Choose the version one below the current version you have
- Then click install
- Then the drone will automatically restart
To downgrade firmware in DJI go 4
Press and hold the menu icon (three horizontal lines in the top right corner) for five seconds and a special firmware menu appears. You can now select which previous firmware version you would like to downgrade to. Check it out.
Change the phone
If you are using android to calibrate the IMU and it is not working try swapping it with ios, and vice versa.
Change location
I am not sure why but DJI recommends doing IMU calibration on an open field, so if you are doing the imu calibration in a tightly enclosed space go out and try it again.
Final choice
If none of the methods fix it your drone might have some hardware problems and for that, you might have to send it to a professional
If your drone is within a year period from activation which is most likely the case because I assume the drone you are trying to calibrate is new you can get it fixed without any cost.
If not you might have to pay from fifty dollars up to hundreds of dollars depending on the situation
After you hand it to DJI it can take up to 15 days till they fix it and send it back to you, and it can take longer if you don’t live in the united states
If you are located in Armenia, you may contact the local dealer or DJI’s support via email to start a case and send the unit back.